
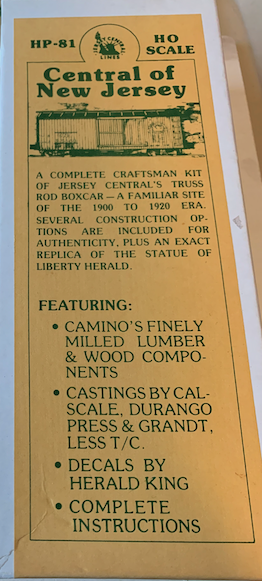
I have had an old wooden craftsman kit from Camino Models (HP-81; Central of New Jersey) rattling around in my unbuilt kit collection for a number of years after finding it for a song at a show in Saline, MI in the early 2000s. I started this long ago and nearly completed assembly during the 2023-2024 interregnum when I was not keeping detailed build notes. It was completed in 2025.
A bit of research revealed no exact historical match, but the design is close to box cars 33658 – 36437. (On reviewing the decals, the number is 35468, so this is likely the prototype.) From 1940 freight diagrams, the following:
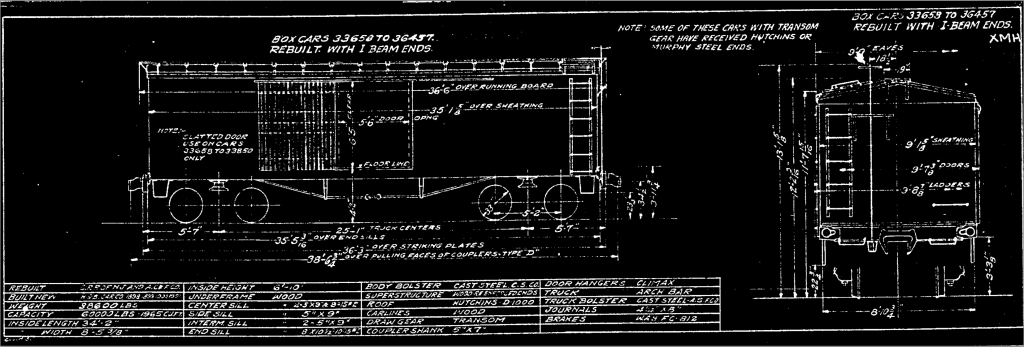
Note the low brake staff. At this level of detail, the only notable difference between kit and prototype is ladders in place of the kit’s grabirons. (Alas, I discovered this after installing the grabirons, so this model will maintain that historical inaccuracy.)
There is one additional detail that piqued my attention: what does that say about the truck? ARCH BAR. This is from the 1940 equipment description? Wait, weren’t arch bar trucks made illegal for interchange service sometime around then? It looks like 1940 is when they were outlawed. [Beware AI schlock search results giving different dates.] Upon this discovery, I needed to make the box car a relic without truck replacement: a symbol of the railroad history from which 1939 emerged. Especially interesting for a car lettered for a far away railroad from the Southwest US, the setting I intend to model. Arch bar trucks were ordered immediately.
Finishing the Build
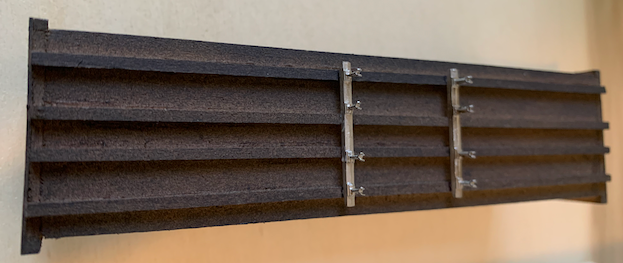
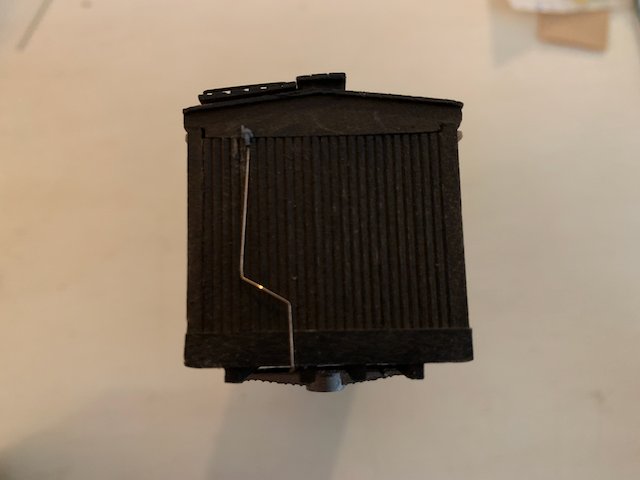
This is the condition in which past me left the kit years ago: prepainted in black with sides, ends, sills, and queenposts installed.
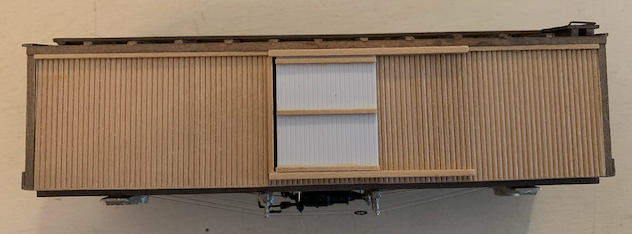
Assembly was straightforward, though the operating doors needed to be scratchbuilt from styrene car siding:
In retrospect, I gave up on shaping the brake valve line too quickly; I should have installed it after the grabirons to provide better reference points for positioning.
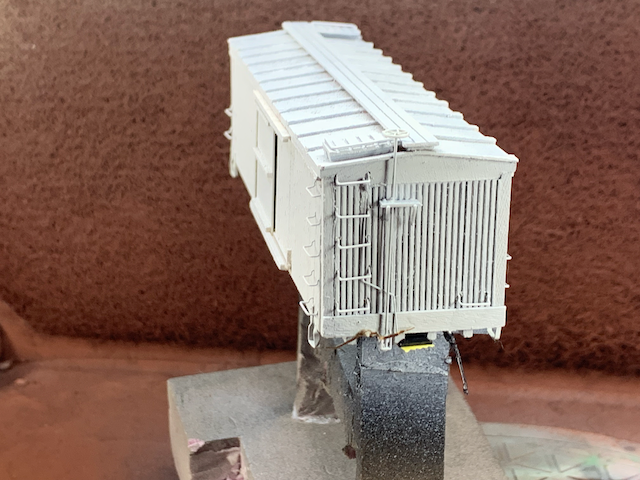
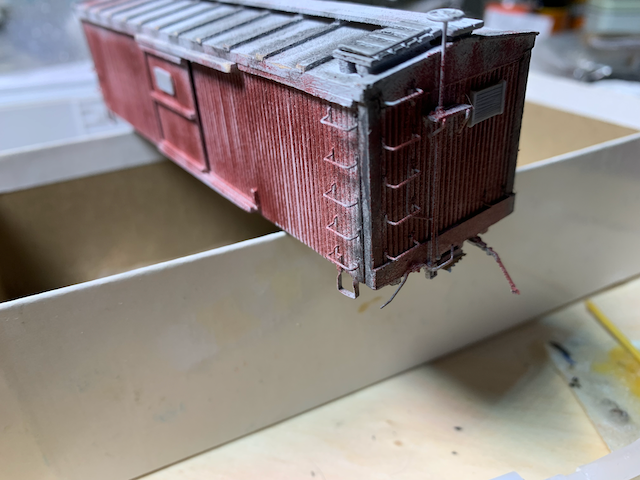
After grabiron and brake staff installation. The Andrews trucks are temporary:
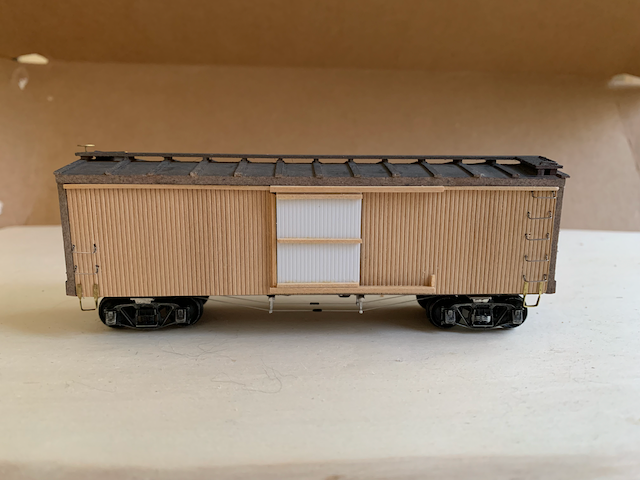
This shows an accumulation of small errors in wire hardware installation. In a sign of where I am as a model builder – i.e., still developing – I believe I could have done this hardware better today than when I did it in 2023.
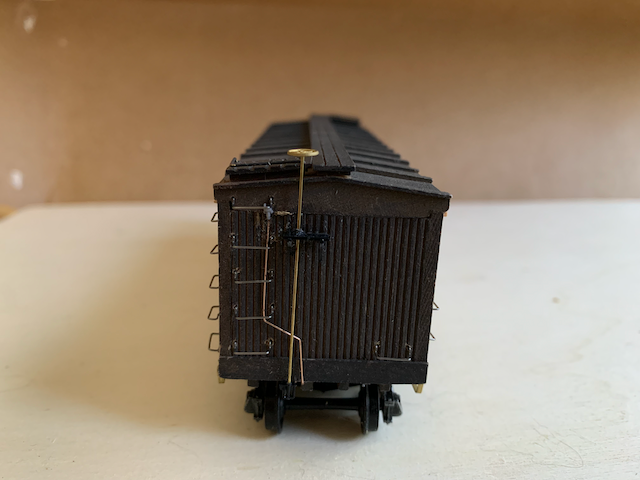
The accurately low brake staff is visible here:
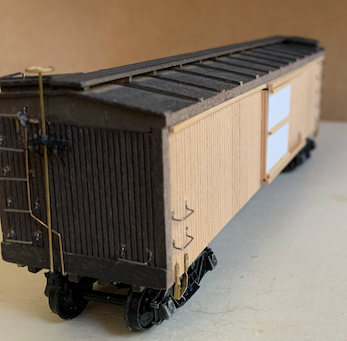
After addition of brake hoses and cut levers, I considered assembly to be complete. We will find that I moved a little too hastily into painting. I have relatively little experience on the airbrush overall, and almost no experience painting unsealed wood, so this would be educational.
My 2025 Re-Introduction to Airbrushing
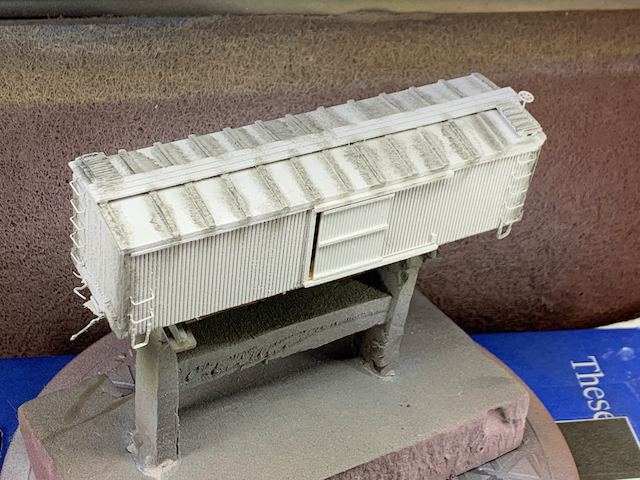
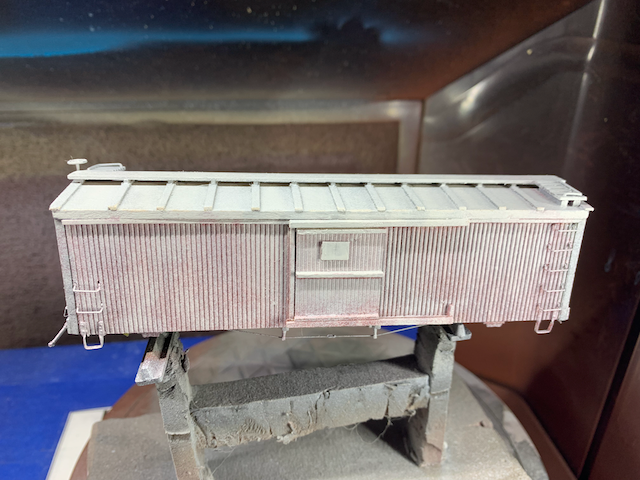
I needed a refresher on airbrush painting. I wanted to use acrylic paints and started with a coat of Vallejo Grey primer (70.601).


I tried and failed to pre-shade using Vallejo German Camo Black Brown (70.822):
Then, a light basecoat of Polly Scale Rock Island maroon, which revealed more problems than it solved:
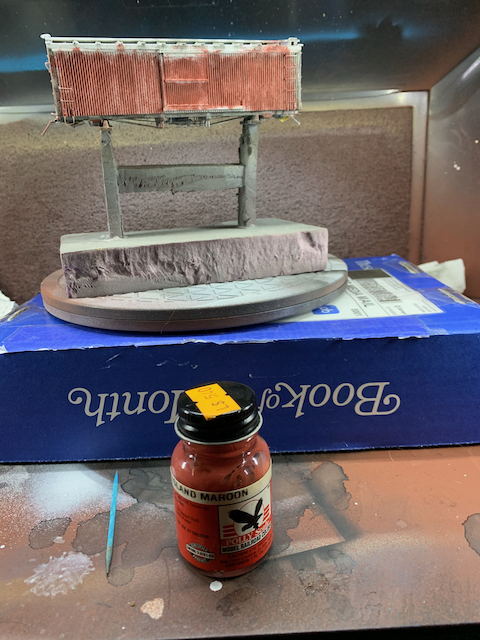
I stopped applying it after a rough coverage of the sides because it didn’t feel right. I think it is possible that I was a bit too rusty on the airbrush. One thing we have going for us is that this is a wood kit, so it is soaking up paint pretty well and we can afford more paint layers.
Acrylic Paint Redux
I lightly sanded the layer of Rock Island Maroon to prepare for repainting.
The lack of tackboards also started to get to me. There were some spares in my resin parts stash:
Repriming:
The Grandt Paintjob
At the time lacking the full confidence I have in model painting, I followed the recommendations from old Grandt Line narrow gauge kits on getting a subtly layered effect. They assumed Floquil paints, and I have done my best to reproduce the colors using Vallejo and Polly Scale acrylics.
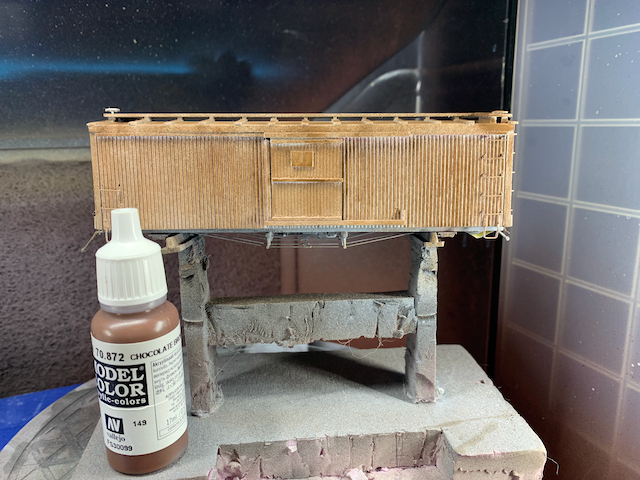
1. Brown:
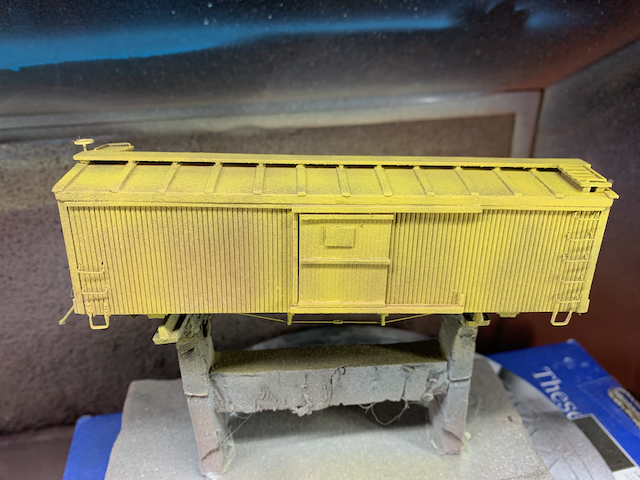
2. Faux Depot Buff:
Depot Buff was emulated using 3 parts Vallejo RAL1006: Yellow Ochre (71.033) and 2 parts Vallejo Light Brown (71.027).
3. Grimy Black:
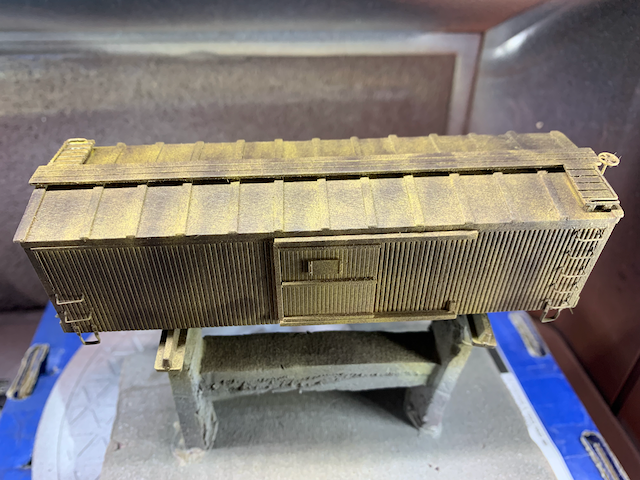
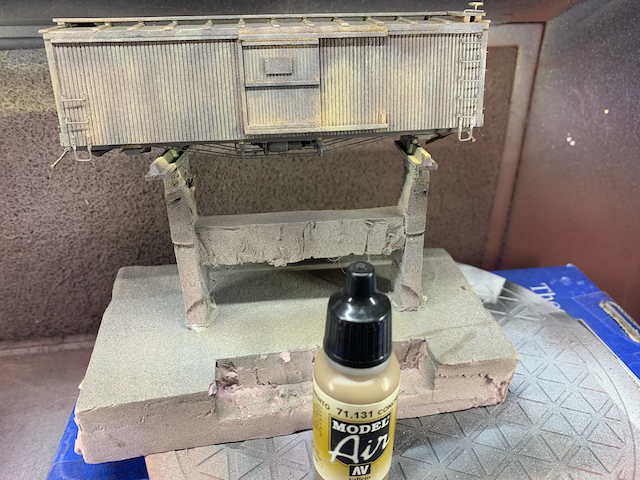
4. Concrete:
This is not in the original Grandt Line suggested approach; I wanted to emulate aging wood as a color showing through from beneath the top layers.
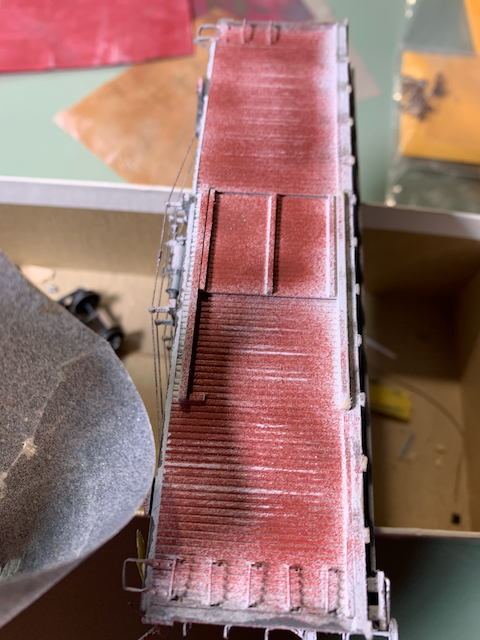
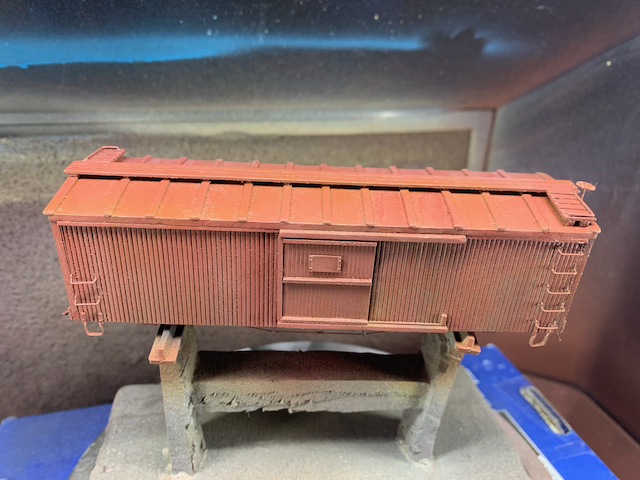
5. Top layer box car red mix:
1 part box car red, 1 part Light Oxide Tuscan Red (Badger 16-14), followed by a light overspray of Polly Scale Rock Island Maroon. The box car red was made with one part Vallejo Camo Medium Brown (71.038) and one part RLM26 Brown (71.105).
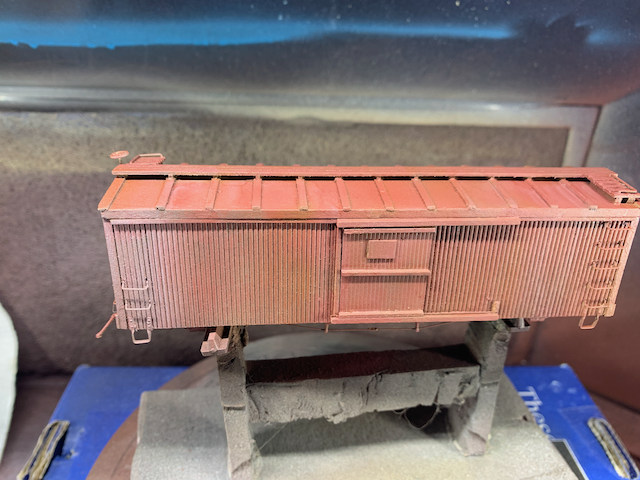
6. Sprayed dust/graying:
I tried to do a light graying/dusting. It looks more pronounced here than in person.
Finishing
The decals included with the kit immediately dissolved upon touching water. Apparently, there is no completely accurate decal set for this model on the market at the time of construction. All are too modern, with the Statue of Liberty logo too large a few years later. Tichy’s is the closest and works well as long as you don’t read the small print on the side of the car. I was also able to number the car in the correct range using the Tichy decals. The natural wood materials drank up a lot of Microsol and the wooden ribs have too much depth between them, making the application challenging.
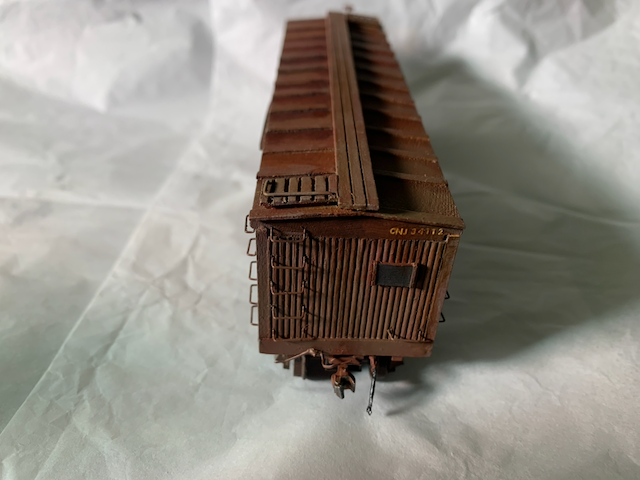
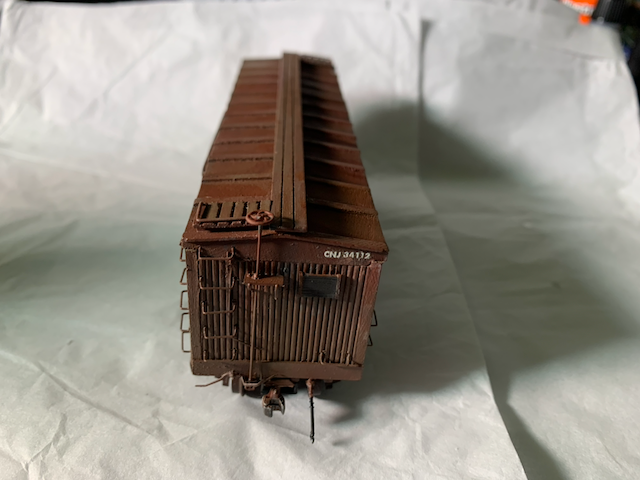
Roof weathering:
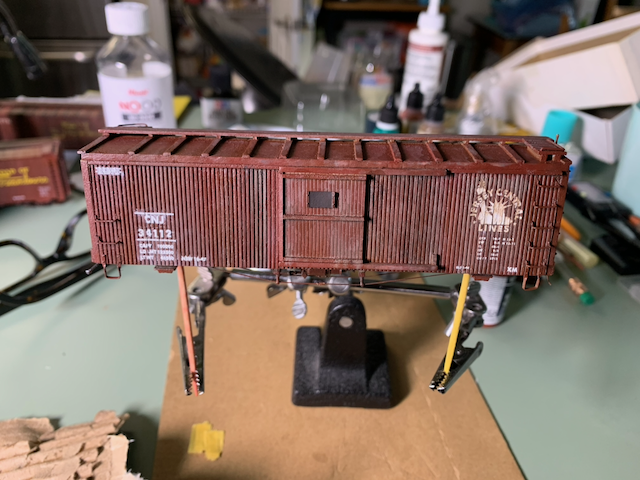
Overweathering the sides:
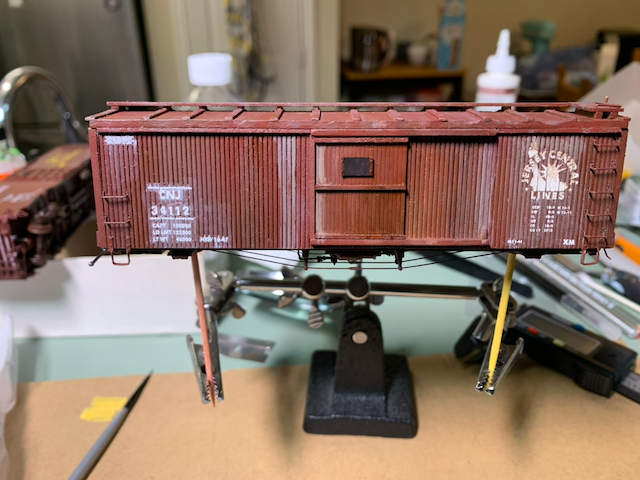
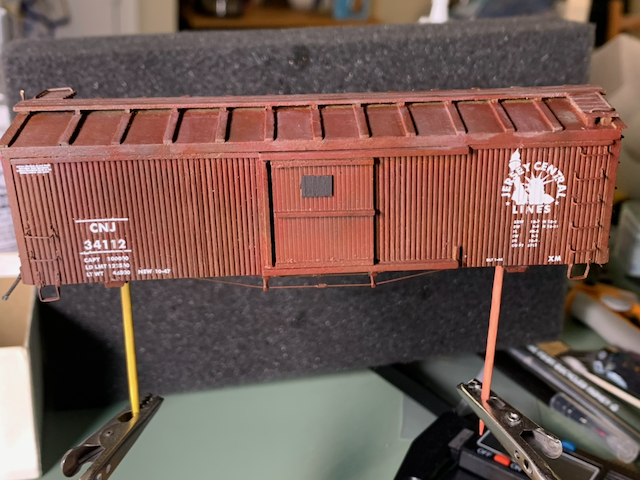
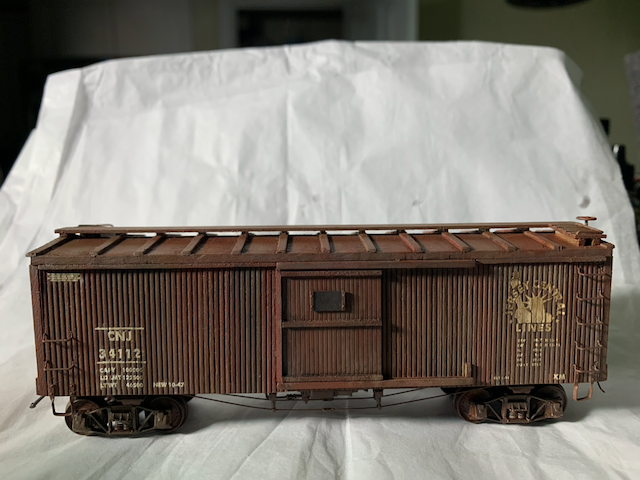
The finished car:
Note how the weathering is heavy, but toned down from the in-process photos.

Verdict
My standard gauge freight car roster is in need of more box cars and this was a fun learning experience. Poor CNJ 34112 will never be competitive with superdetailed resin kits, but it is a respectable showing for how old the kit was.