The Bx-11 single sheathed box car, according to the history section of my Westerfield Bx-12 kit instructions, was based on the 1924 ARA designs and was the first single sheathed box car ordered by the Santa Fe. The Bx-12 is a later variant, as is the Bx-13. It is a popular model to build from multiple kits and in multiple scales; e.g. 1, 2, 3.
With 6500 total Bx-11, Bx-12, and Bx-13 variants of this design on the road during the 1930s, the single sheath charm, and being a Santa Fe road name made this the kind of car that could be used for through freight or local on my nascent layout.
As my first build of a resin car kit, this was also a chance to expand my model building experience.
Climbing the Ladder of Success
Last year I put on haitus a project to build a set of Tichy USRA box cars to have a break from installing grabirons. This resin kit would be great because it did not have so many grabirons! But wait, there’s ladders, and I am no better at them.
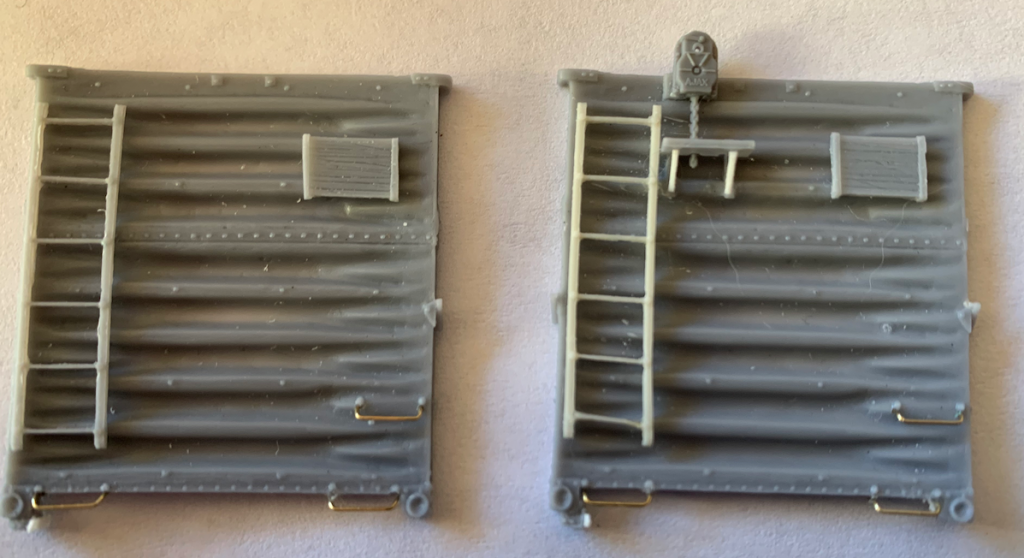
As I was still getting my sea legs on sanding away the flashing, I had to work with one broken rung. It ended up looking slightly better than this once corrected. Still, my ladder game needs work.
Siding with the Floor
The floor frame came together ok, but those coupler pockets are fragile. This sort of thing is where I really had to take it slow. The pictures provided with the kit are tiny photocopies. (Another Westerfield kit I started later has much clearer photos.) I was flying relatively blind on carving some of the small details, including not being sure what part is what or which parts are flash and which are the “meat”.
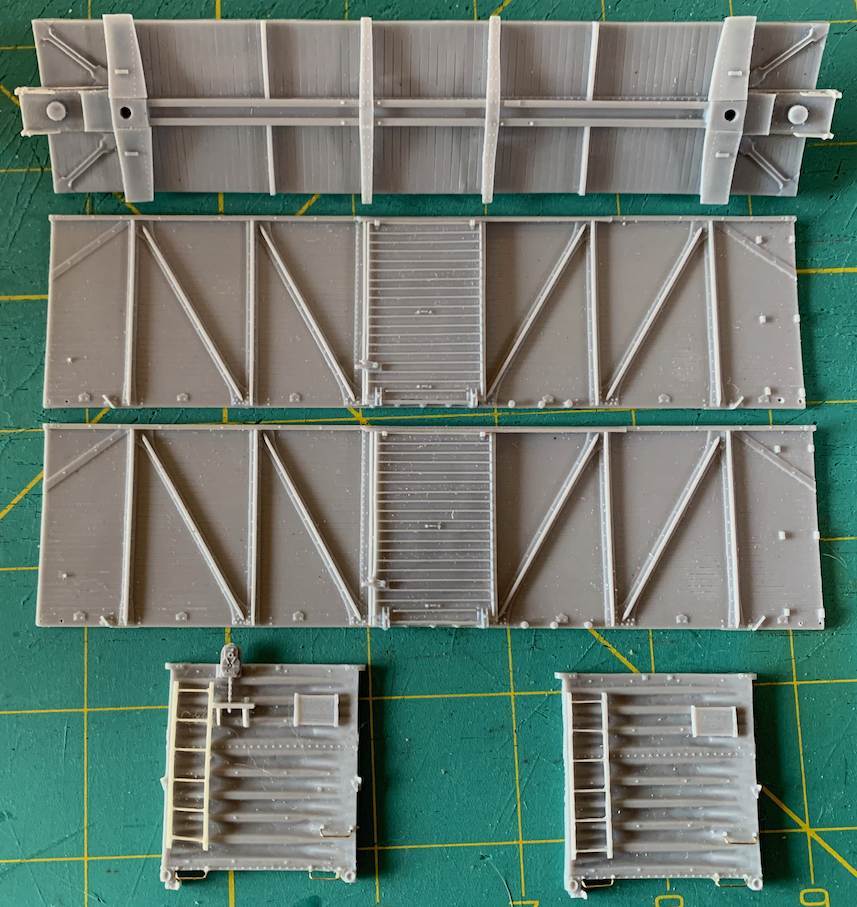
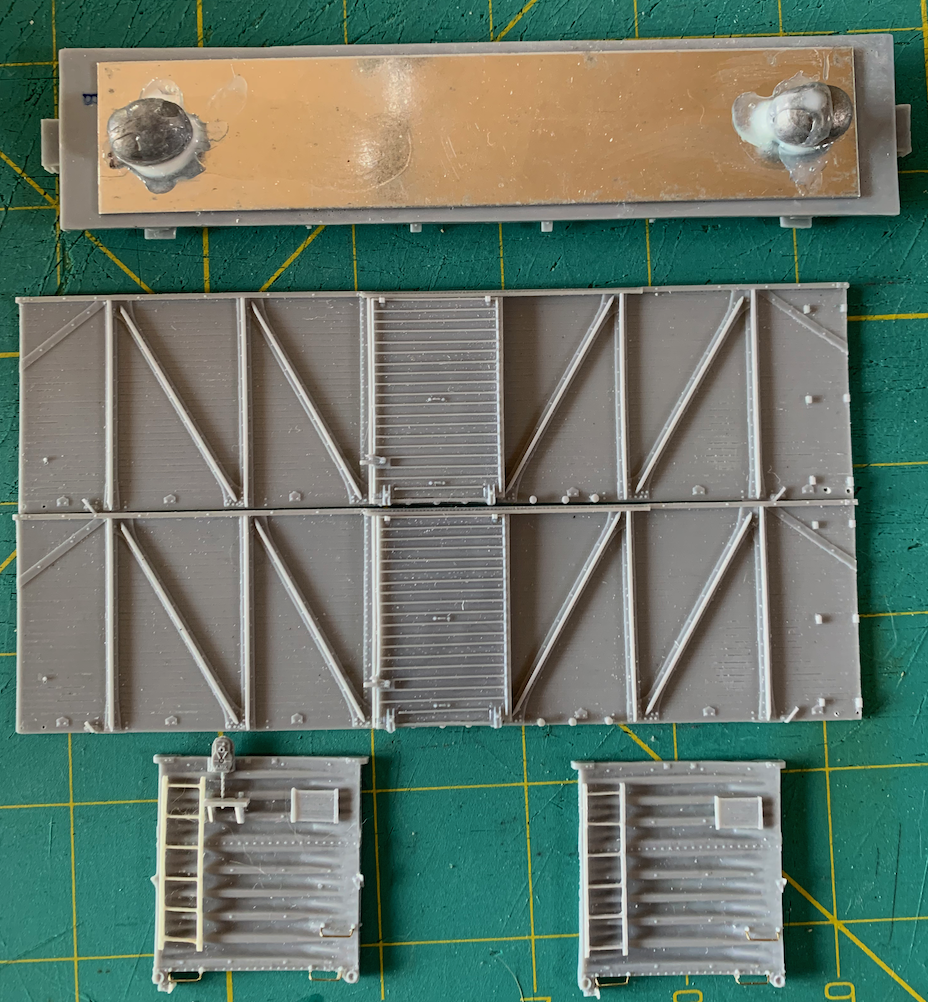
I used plastic Dalman trucks (two-level, approximating the one-level Dalmans; Tahoe Model Works), so per the instructions added weight using a few old fishing sinkers to get it within 1/10 of an ounce of the NMRA weight standard.
I expected the assembly of the sides to be critical, and have received cautionary warnings about making sure the cube is square from my father. This assembly step was a bit too awkward this time around to capture in pictures, but I’ll have it next time.
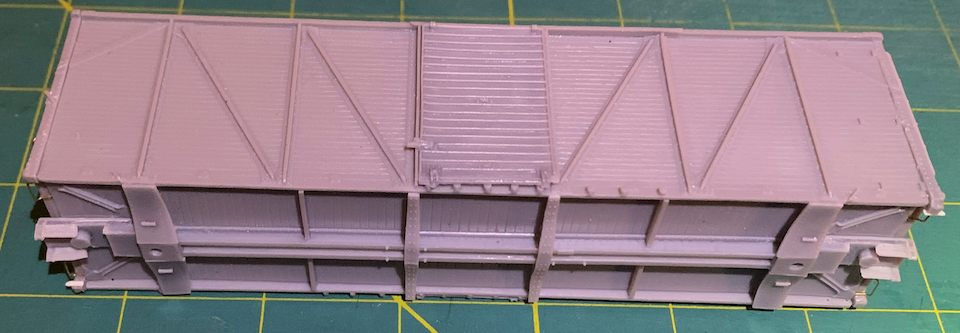
Despite the inside looking pretty horrorshow, where it matters it came together mostly square. However, once it was dry I discovered that the roof is too short. Or, I should have checked the lengths before assembly. This did not sink the project completely: a thin styrene plank nearly fills it, and a tube of plastic putty and various fine sanding films closed the gap.
Closing the Gap
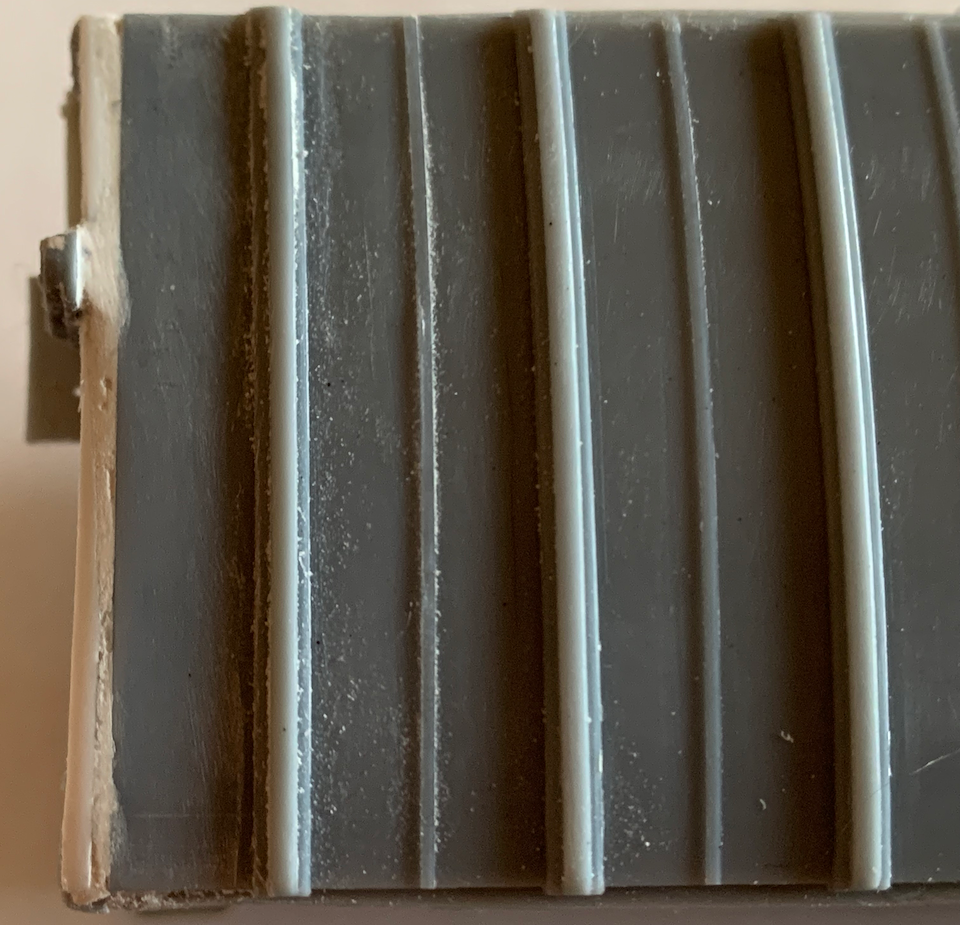
This is an in-process photo. The styrene layer capped the end of the roof. The roof ends have detail that I recreated by slowly scratching it out with the tip of a jeweler’s file.
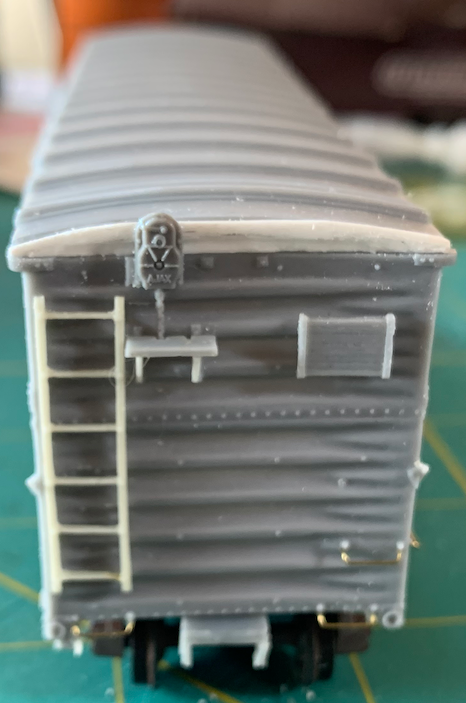
I used the putty I happened to have on hand, an old tube from Testor’s. It ended up working well enough, but had a tendency to crumble. This was my first foray into gap filling. Working over the course of a few days of applying, drying, sanding, and reapplying repeatedly eventually got a satisfactory result and the build was saved. Luckily, no rivet detail was in the sanded area.
Brake Detail

I embarrassingly dripped a bit of CA on the bottom of the floor and also spent quite some time trying to interpret the instructions on assembly. I have assembled my share of car brake details before, but this style of kit was new to me and I could have really used a clear picture of the finished model as a reference. Instead, I resorted to research. The result of my brake modeling is probably terrible, considering the angle between the left brake lever and the brake rod.
Assembled / Pre-Paint
Eventually, one arrives at the assembled/unpainted object:
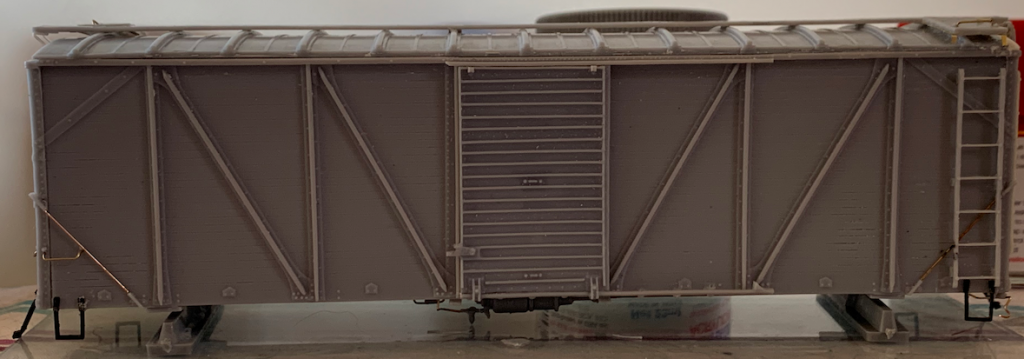
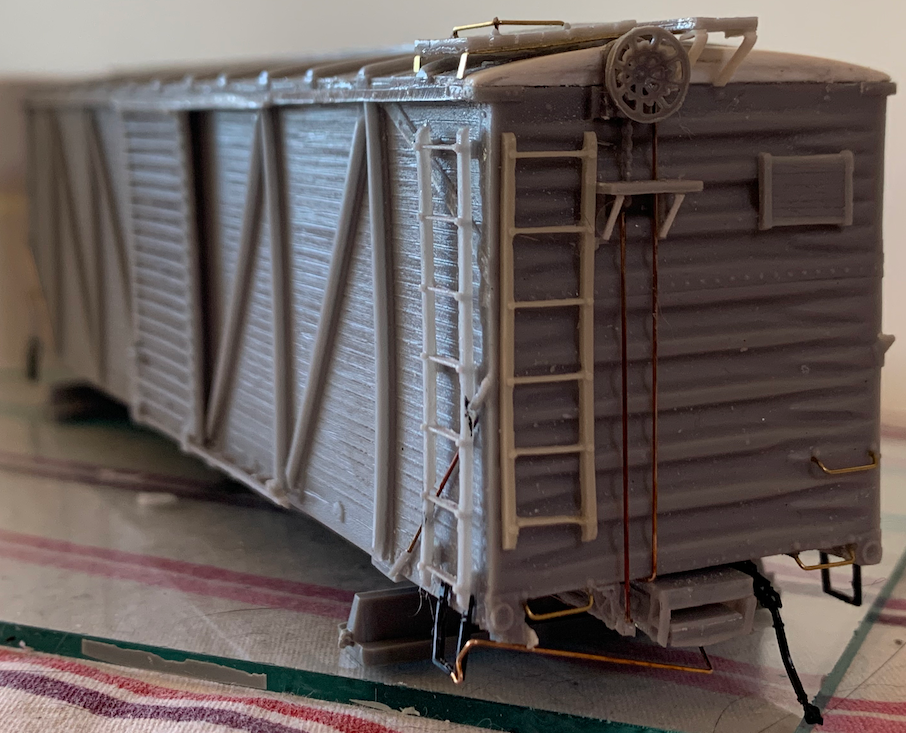
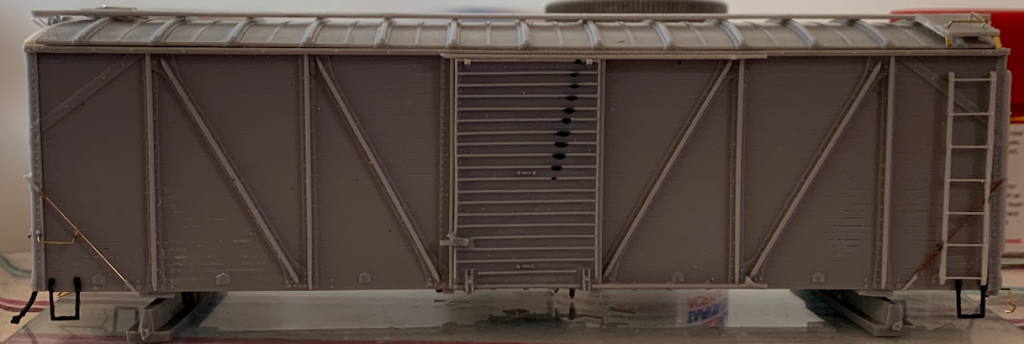
This was my first attempt at bending my own cut levers; they are ok. The hoses are Cal-Scale. The asymmetry in the roof ends is visible if you look carefully, but should be harder to spot once this car is in the fleet. Certain details, such as the couplers and the tack boards, were delayed until after painting.
Preshading
Now I have the chance to put my painting practice to a new test with a car that will benefit from layering on top of a layer of Vallejo grey primer, and Vallejo Air black (71.057) on the underside. The same black was used for detail highlighting and shadowing, especially around the braces on the side of the car, roof ribs, and corrugated ends. In the center of the panels between braces, I applied the highlight color of Rock Island maroon (Polly Scale F414248). This was chosen because it is redder and brighter than the Vallejo rust (71.080) that would be the top base paint layer.
My paint layering technique is largely captured by this diagram:
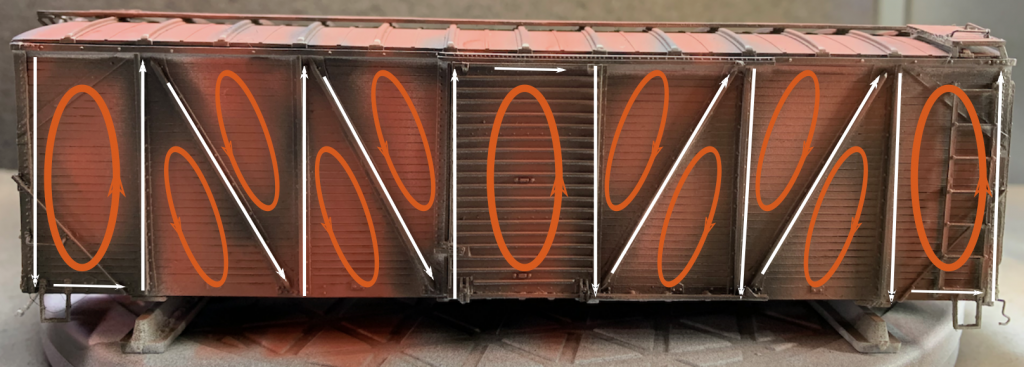
I missed under the roof sill; this was later touched up. Here are the highlights before the main color:
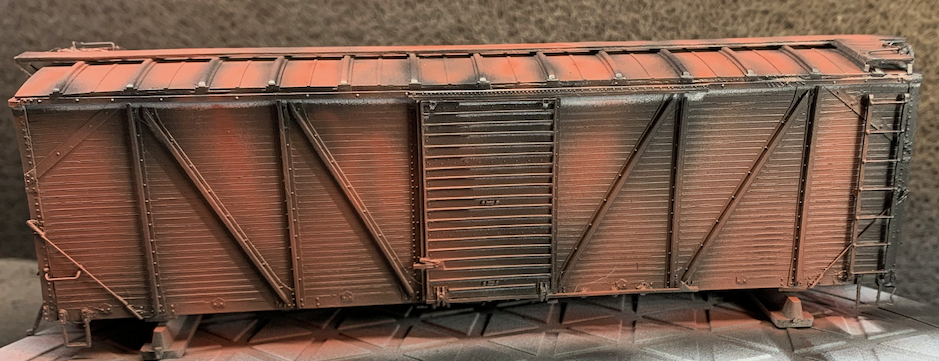
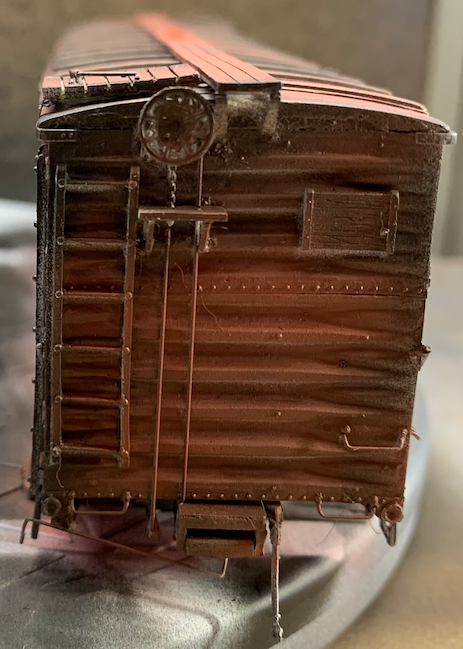
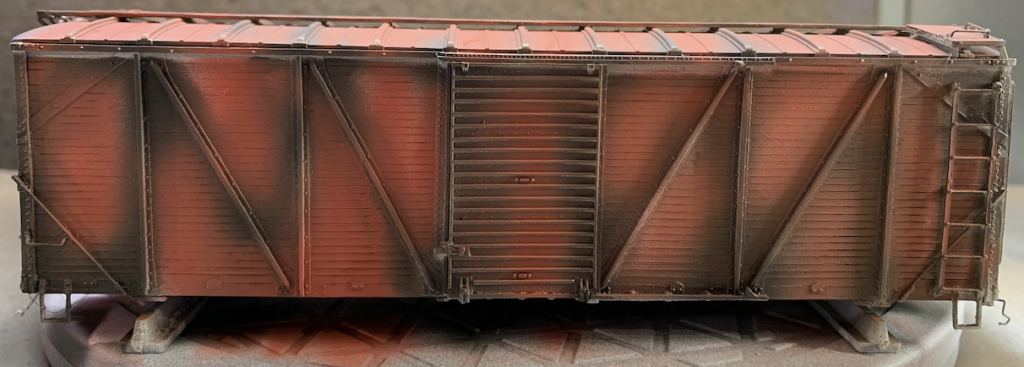
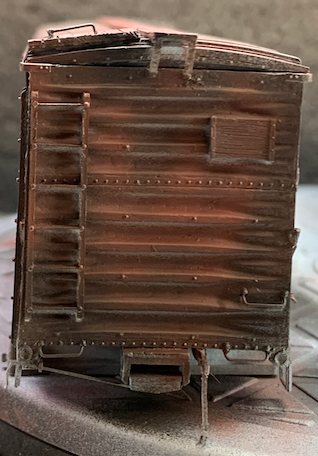
After the main color and gloss coat and the look was more or less what I wanted at this point:
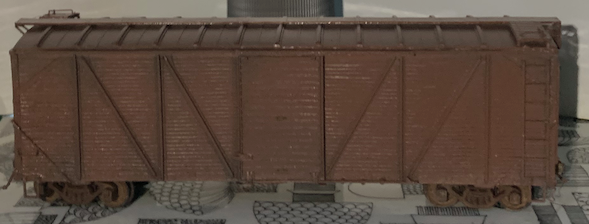
Layered Decals
The decal set with this kit has a two-layer Santa Fe logo. Having never done two-layer decals I was curious if it would become a mess. I made use of both Microscale Microset and Microsol to get them to melt in place (wet water as well). This fixed a crack I managed to inflict on one of the logos surprisingly well – well enough that I can’t see it in the finished product.
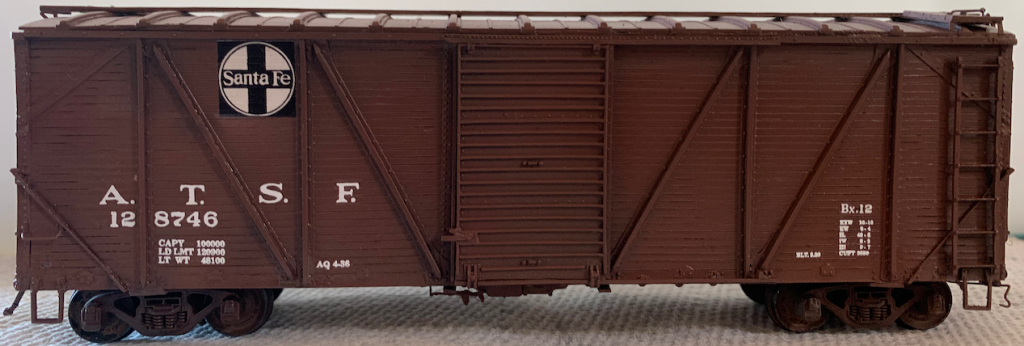
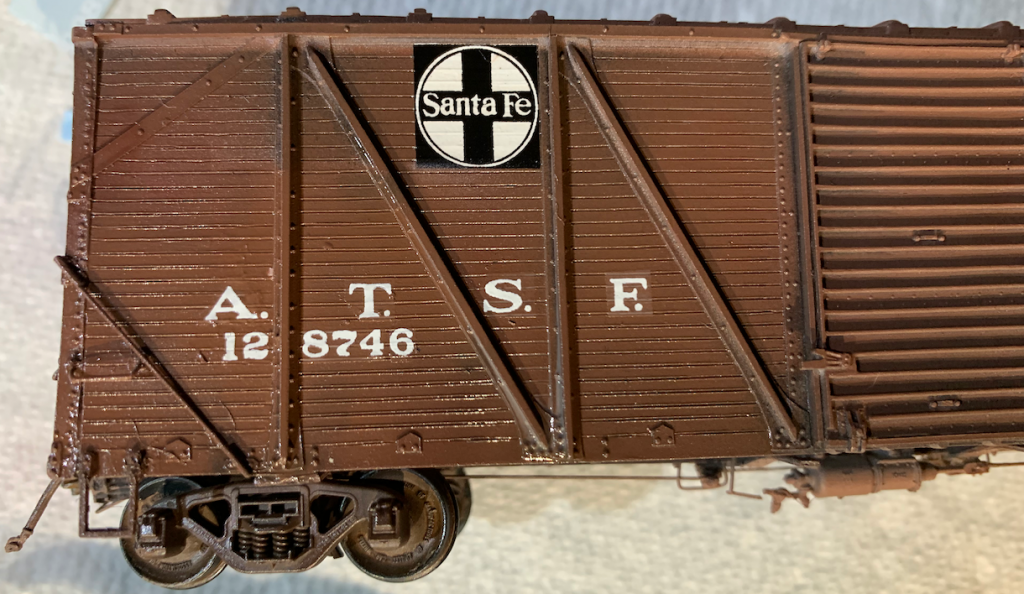
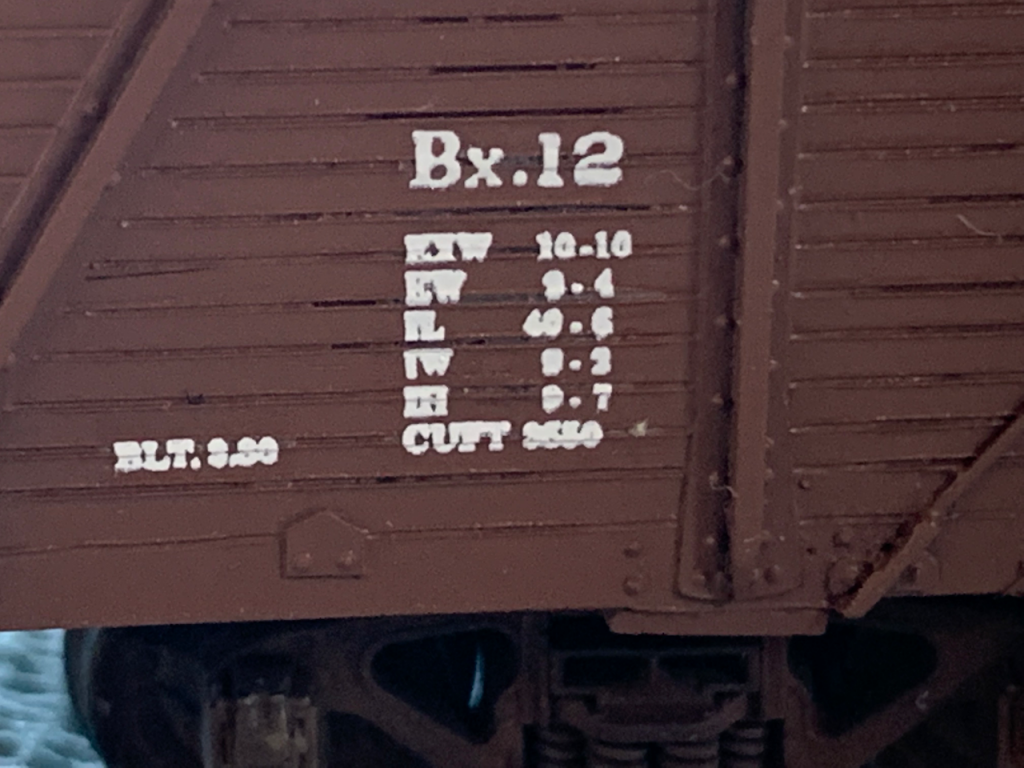
Placement of the decals was partially guesswork based on what images of this series are available online. At various times, the paint would slide around on the surface of the model when I was poking the smaller decals around. I suspect I did not spend enough time cleaning the surface before painting, but I was able to restore it with minor touching up.
After installing couplers, this represents where I got it to date. It has a few loose ends, including tack boards and, importantly, weathering.
Verdict: Westerfield Bx-12 Kit
This kit is the foundation of a functioning HO scale box car that has about as much rivet-counting accuracy as one could hope for. Its weakest point is the accompanying photos in the kit. Below are links to where I found the photos I used to complete it, which may be necessary.
But the true verdict is that this kit has converted me. Between the challenging process, the needed research project, and the amazing results that will be even better on future models, I am hooked in this level of detail. Without taking the time to weather this one, I almost immediately dove into a second Westerfield box car: a Fowler clone D&RGW that will presumably be featured in a future post. I wanted to get another rep in to cement all that I learned and to strive toward a higher level of modeling.
Photo Resources for Bx-11, Bx-12, and Bx-13 Box Cars
Photos accompanying a 1:48 decal set for sale from Protocraft.
