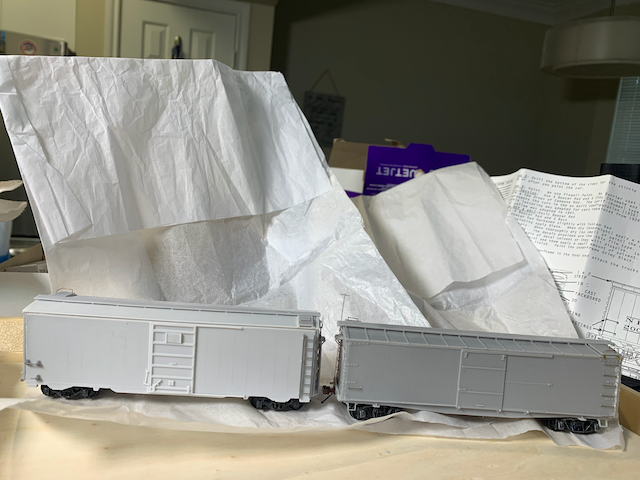
Project Lombard, Project Gable’s companion, is a preview of the near future of railroading from the perspective of the late 1930s. The so-called PS-0 was a welded steel box car whose model railroad designation was created by modelers. Project Lombard is a straightforward build of the Funero & Camerlengo PS-0 box car; description: 40′ 1938 Pullman Welded Boxcar With a 6-Panel Superior Door and 9 Rib Ends. I got this at the F&C booth at Amherst in 2023.

This is my first foray into a non-Westerfield resin kit. My impression is that more research is needed for historical fidelity in the F&C kit. Let’s see how it goes together.
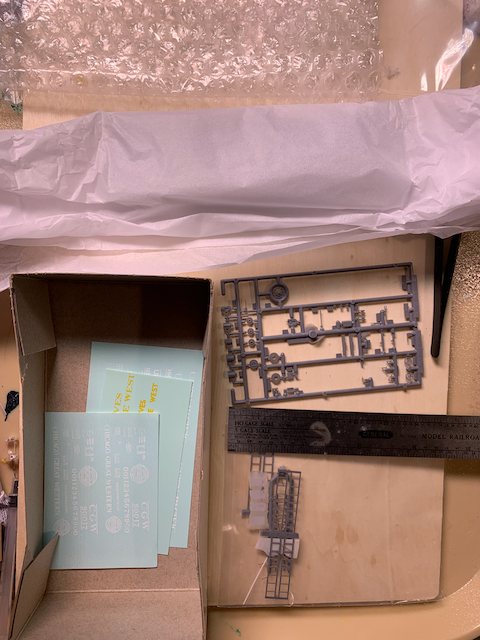
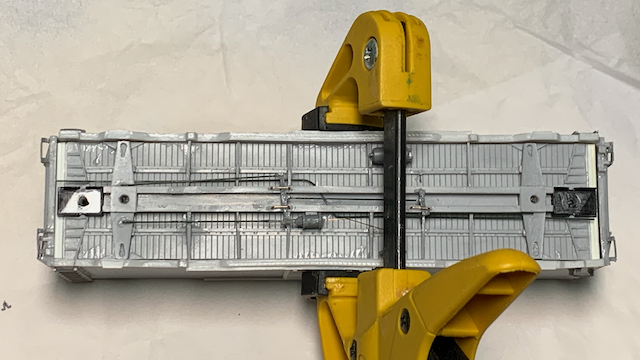
Box Car Kit Contents Check
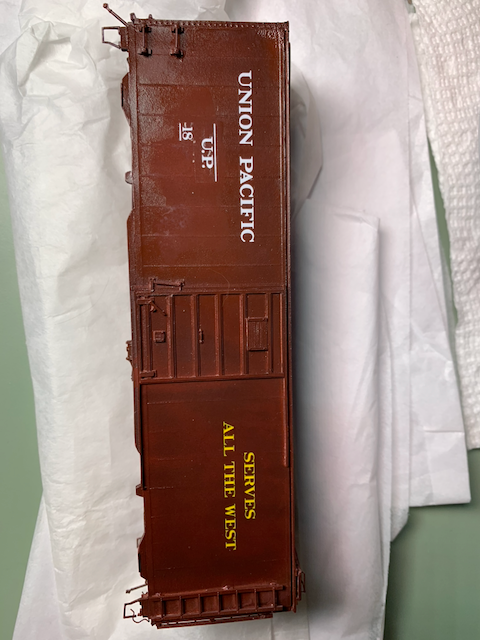
The kit has decals for UP and Chicago Great Western. I opted for the UP decoration, of course. The brake detail is Tichy. Wire suitable for the trainline and brake rods is included, but much of the brake piping will need to be supplied.

Main Assembly
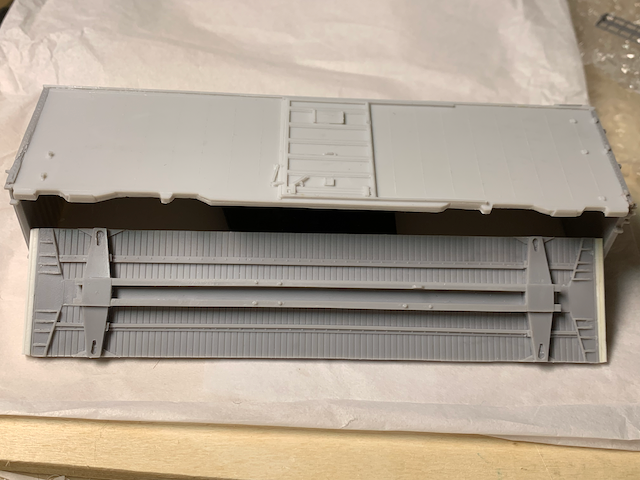
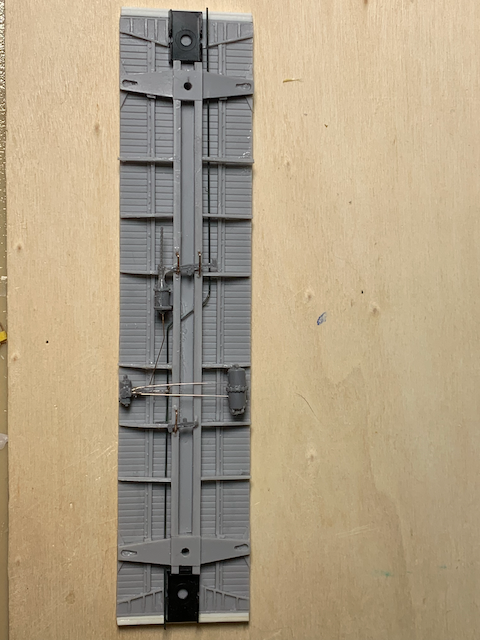
Roof and side assembly worked without issue.
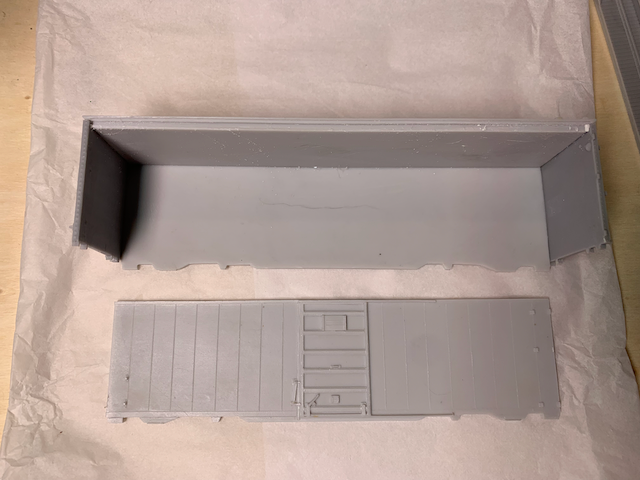
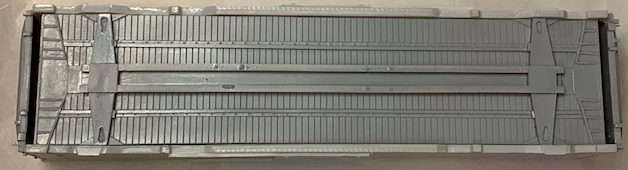
The floor and underframe casting was short, but seems to fit smoothly when centered – it just needs some spacers inserted at either end.
For the spacers I broke out my trusty Plastruct 1.0mm x 2.5mm (0.040″ x 0.100″).
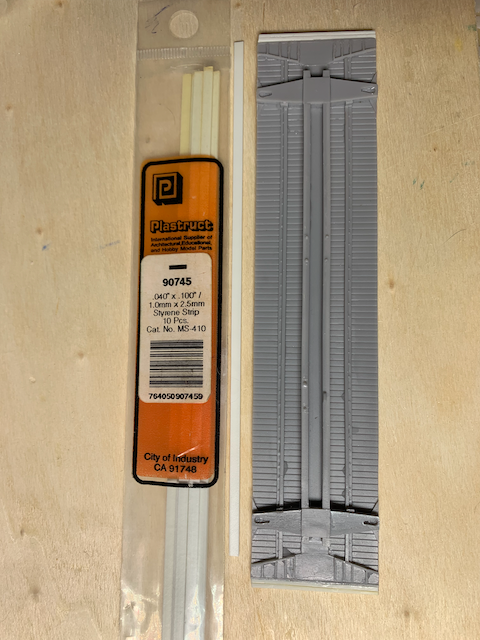
Two layers on each side, a bit of styrene filing, and the floor was a fit.
Next, the wire included in the kit would be installed as the trainline, taking an angled channel:
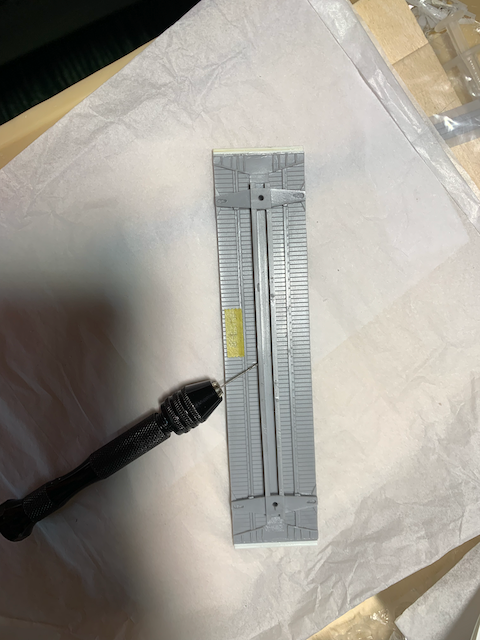
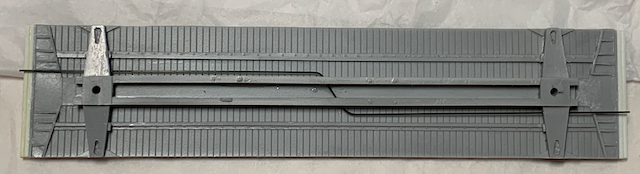
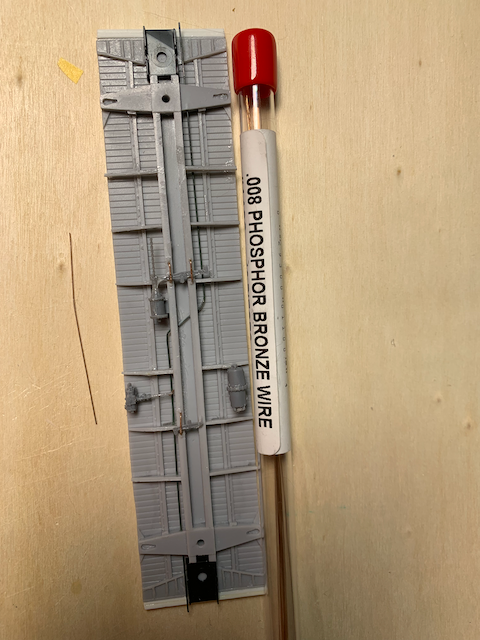
I went with 0.008 phosphor bronze wire for the smaller piping in the brake apparatus.
This was my first time stalling AB brakes in this much detail. Note how the Kadee coupler box goes precisely to the end of the styrene spacers, promising a good fit with the rest of the car. I used the old style #5 coupler box with the ears sliced off because that is what I had on hand.
To prepare for joining the floor and roof, we need to weigh the contents of the car and prepare supplemental weights to get it up to NMRA standards. A few old fishing weights was enough.
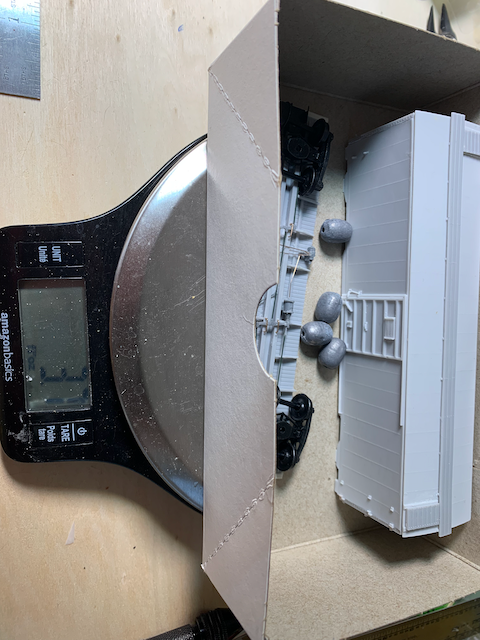
To maintain a good left-right and front-back balance, the paired weights are centered on top of each truck on the floor and affixed in place with PVA glue.
But before joining the floor and shell, there were a few gaps in the seams that needed filling with Tamiya putty Basic Type and some grabirons to install. The gaps were right next to rivet strips I did not want to lose, so they were masked with Tamiya masking tape. I have found the Tamiya tape to be right in the sweet spot between tacky and peelable without damage.
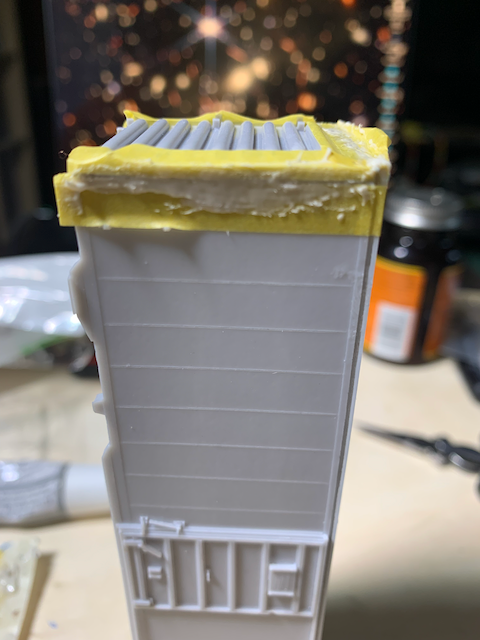
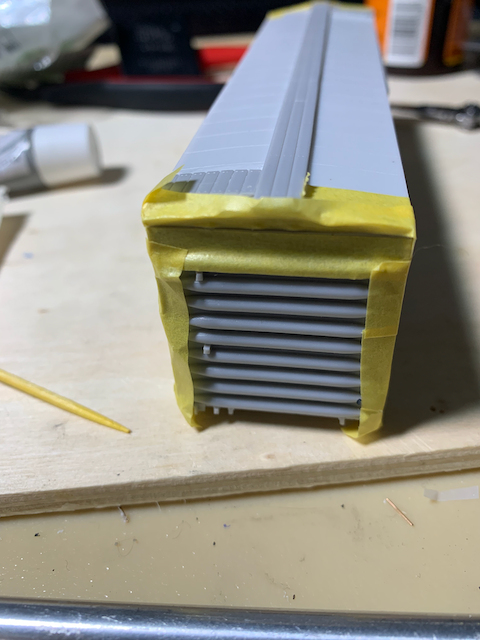
The result is hard to appreciate before painting. One of the things I love about the Tamiya putty is how it seems to shrink and level itself, so cleanup is convenient.
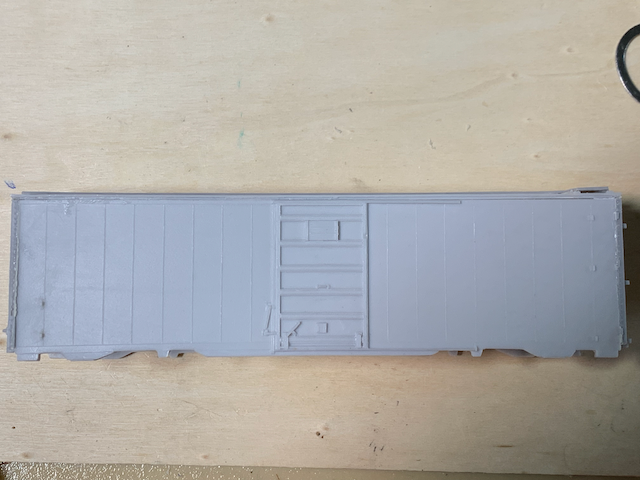
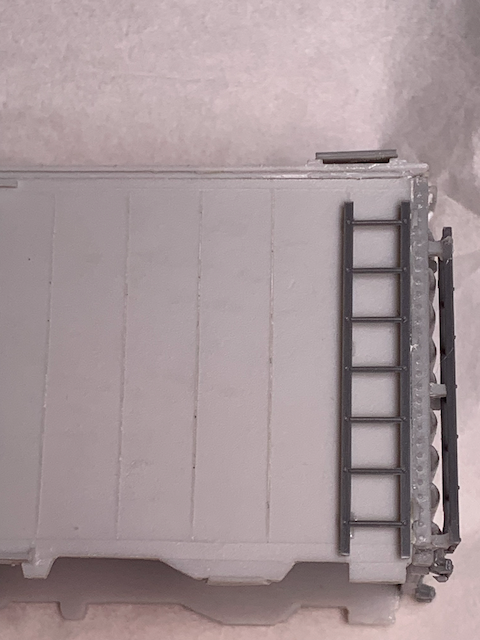
Now to detail the body shell. Grabirons and ladders:
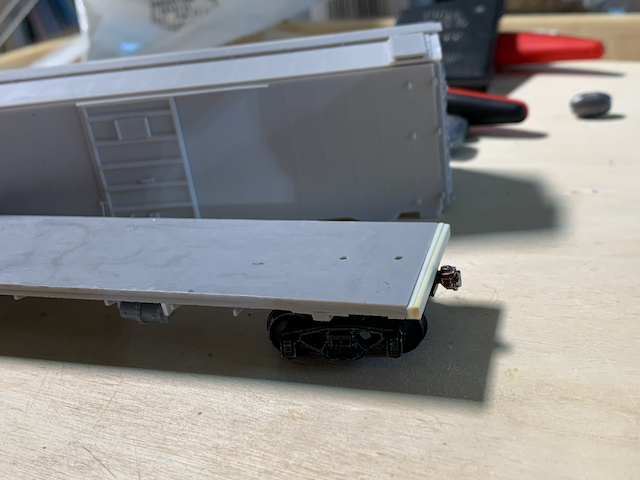
After joining the floor and body shell, a clamp helped permanently affix the sides to the floor.
I followed the F&C instructions and waited to add the corner grabs on the running board until after the running board itself was installed. Not the way I would normally do it but it turned out fine.
On closer inspection of the coupler pockets, ending at the styrene spacer was not ideal – the width of the end casting would need to be overcome. Sergent long-shank couplers did the job (now available from Prototype Couplers ads EC87P100K).
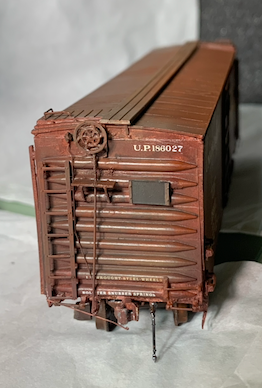
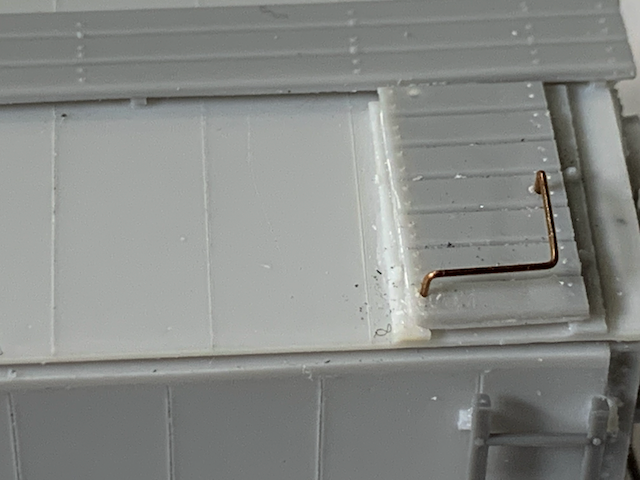
This closeup of the B end shows the eye bolt installed for the cut lever, which will be hand made out of 0.008 wire:
And here the cut lever is being installed:
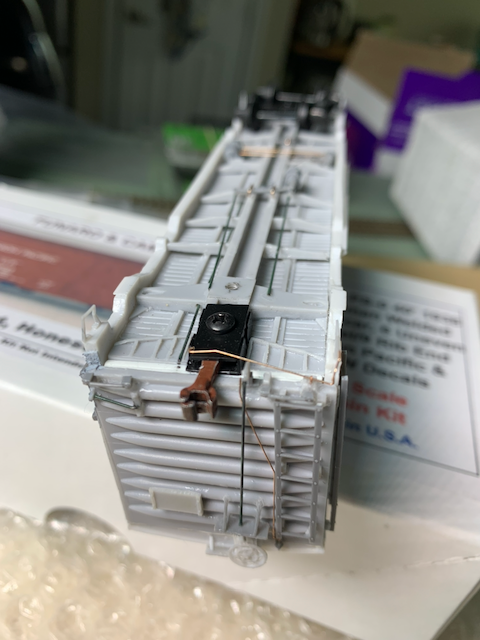
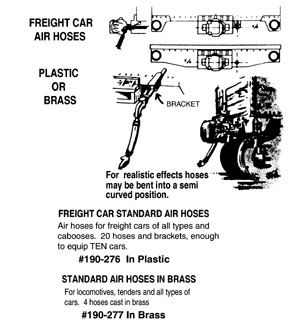
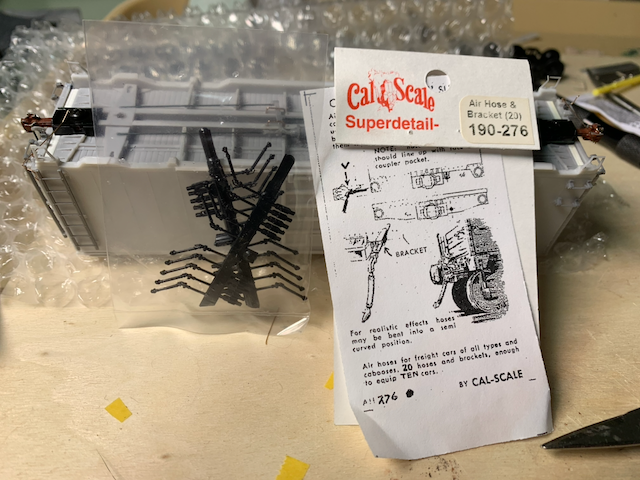
I used plastic Cal Scale brake hoses. At some point I would like to try making them out of actual rubber, but this is what I have on hand now:
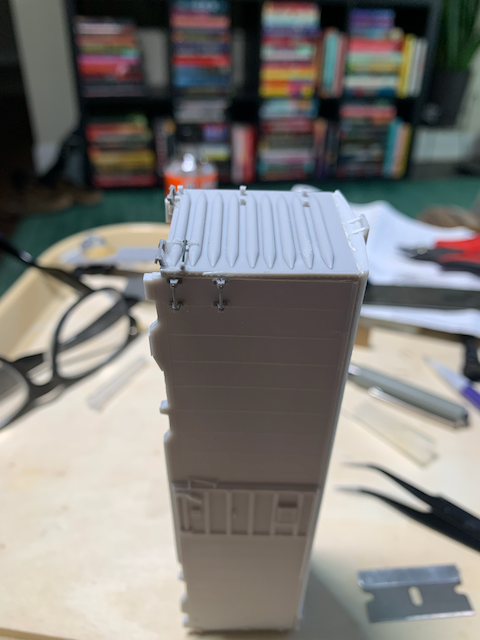
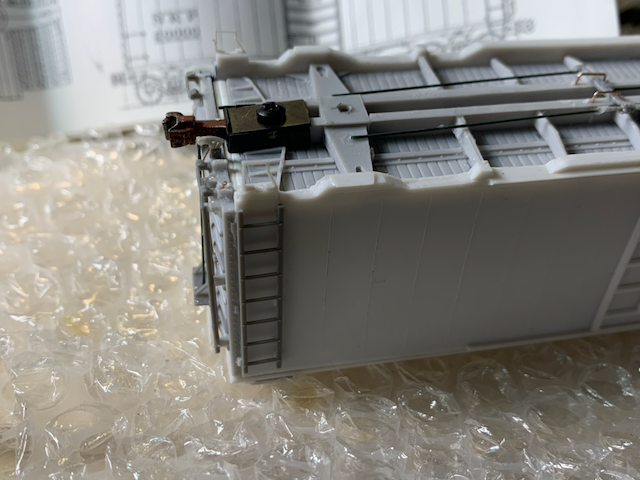
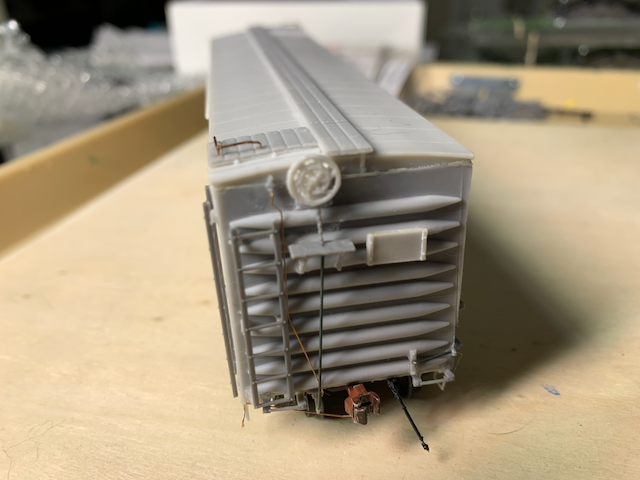
Here is a detail view of the A end. The corner rungs were seemingly very fragile, but have been heroic in taking a light beating without immediately breaking.
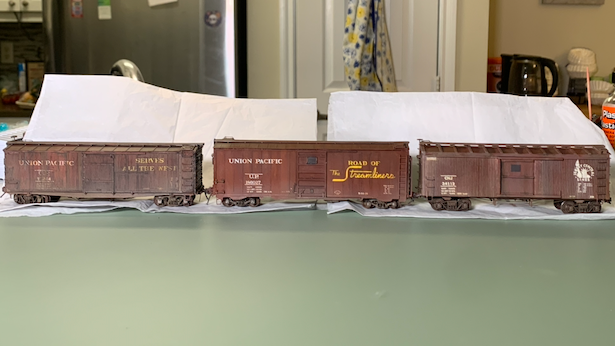
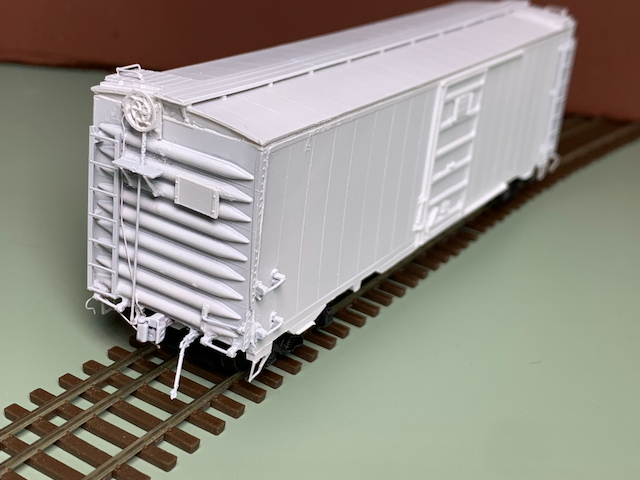
While I have deconvolved the narratives, in truth Project Gable and Project Lombard were constructed at the same time. Here they are together, after assembly, before painting. I broke the grabiron casting on the lower left and did not have any spares, but I found it rebuildable using the right Evergreen styrene circular rod.
Now that she was built up, it was time to wash and paint…

The Gay Bride
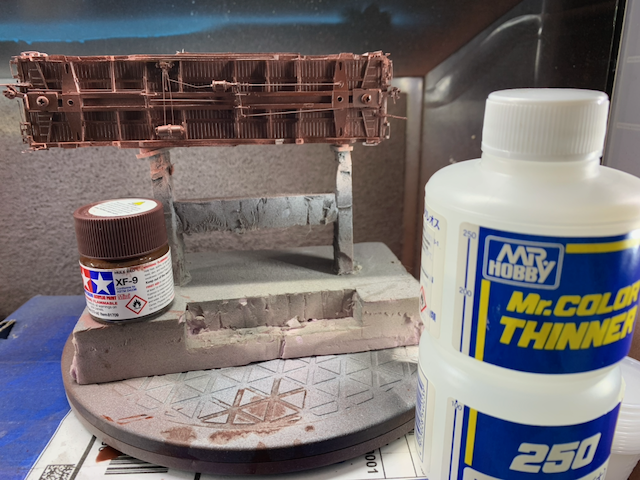
While Gable was painted primarily with Tamiya, I wanted to try the Mr. Color line after seeing excellent results on YouTube. I happened to have Mr. Finishing Surfacer 1500 White, which was used as the primer. The rest is a mishmash of Tamiya and Tru-Color paints with Mr. Color thinner.
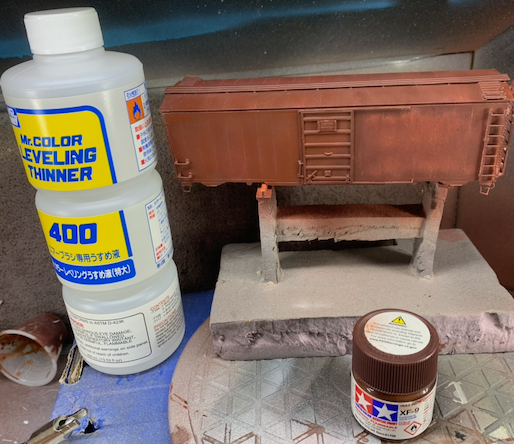
For preshading, I needed a dark brown and XF-9 Hull Red worked for it.
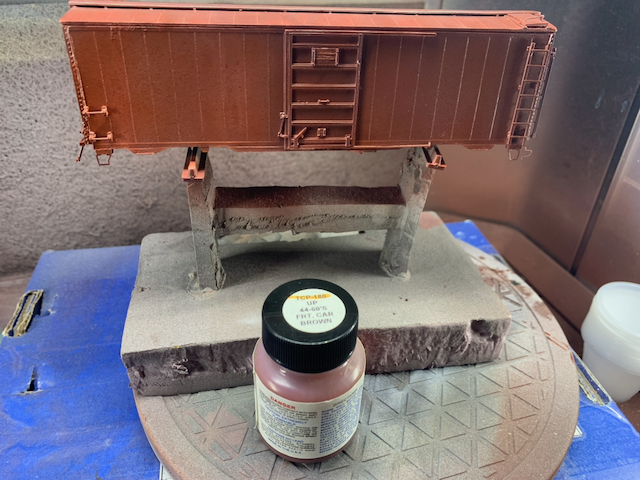
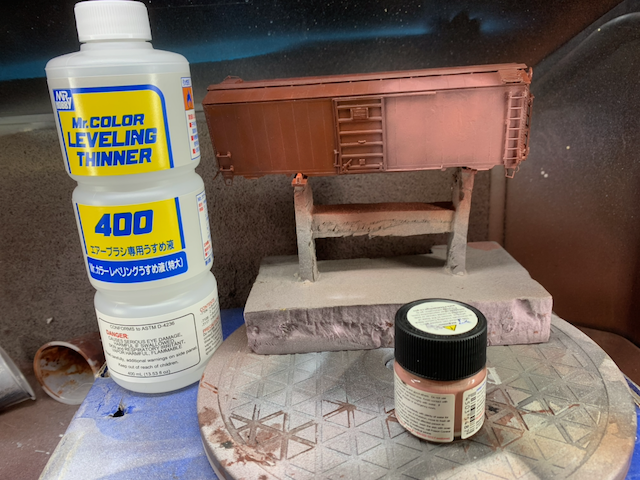
As with Project Gable, I applied highlighting with a brown-pink color:
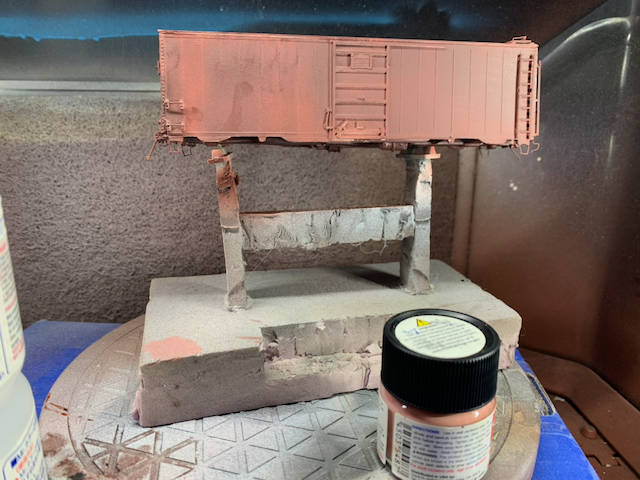
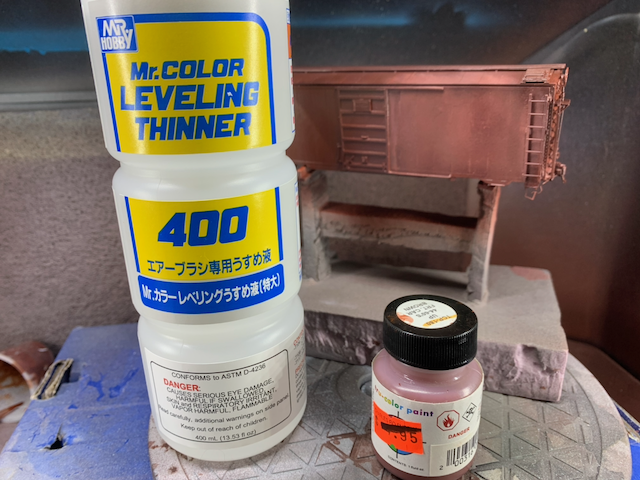
Finally and again, Tru-Color’s UP 44-50’s freight car brown was the base color:
Nothing Sacred
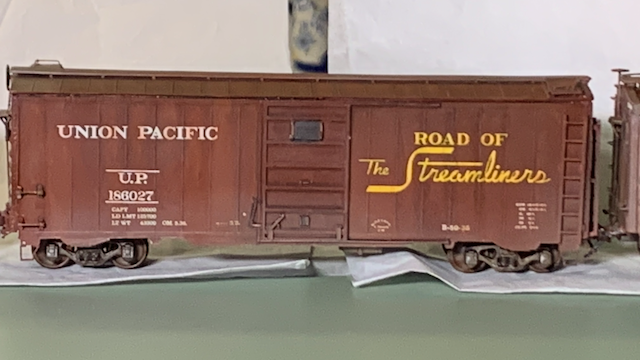
So about those lovely decals. I got the first into place…
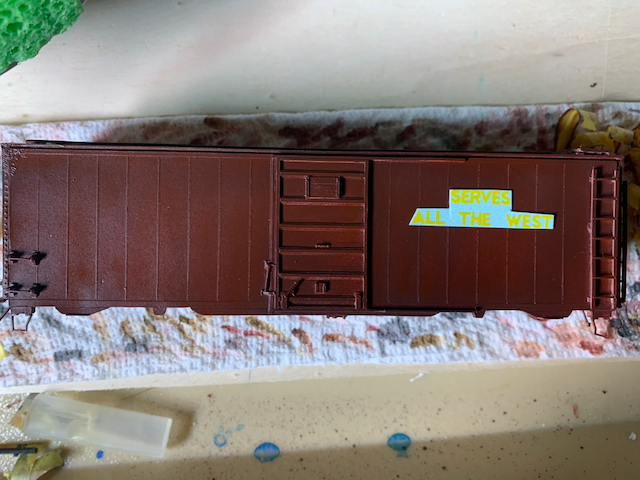
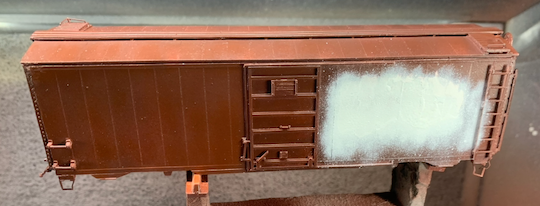
… and it shattered during application, while sticking quite thoroughly to the side. I did not document the nightmare getting all the decal back off, but it resulted in needing to go all the way back to the resin and start over on painting, while dealing with the fallout of damage to the weld seams on the side.
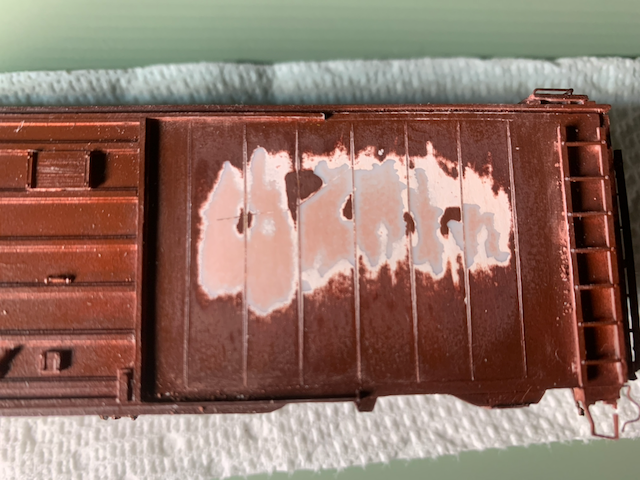
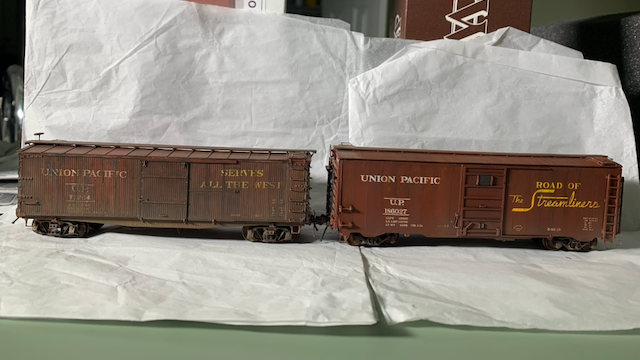
I had harbored hopes that Lombard would be the bright shiny future to Gable’s weathered past, but like poor Carole herself, it was not to be. Still, let’s see if I can salvage this mess:
In the end, the damage is visible in person if you really look for it, but subtle. This car was still worth finishing with new decals. Microscale to the rescue:

I wanted to pull back on the weathering a lot on this one compared to Project Gable. Here it is after oil weathering:
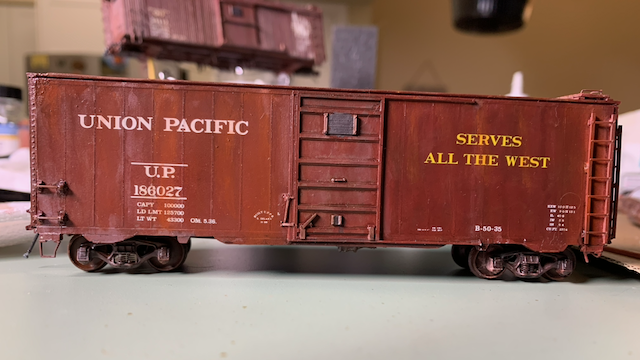
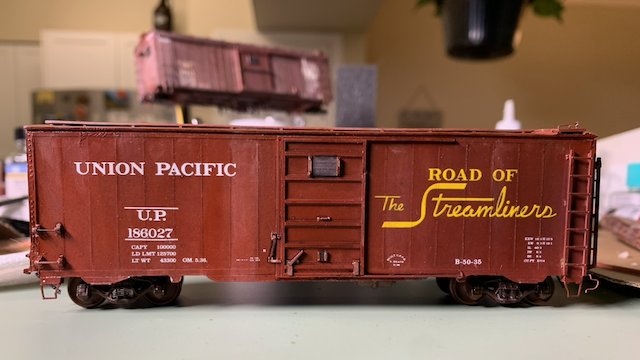
Note the more visible weld lines on the Streamliners side compared to the Serves All The West side from the cleanup of the decal disaster. And after a dusting from Mr. Color Dark Earth and a coat of AK Ultra Matt varnish, Project Lombard joined the fleet: