Continuation of this post, which got a bit image-heavy.
Roof
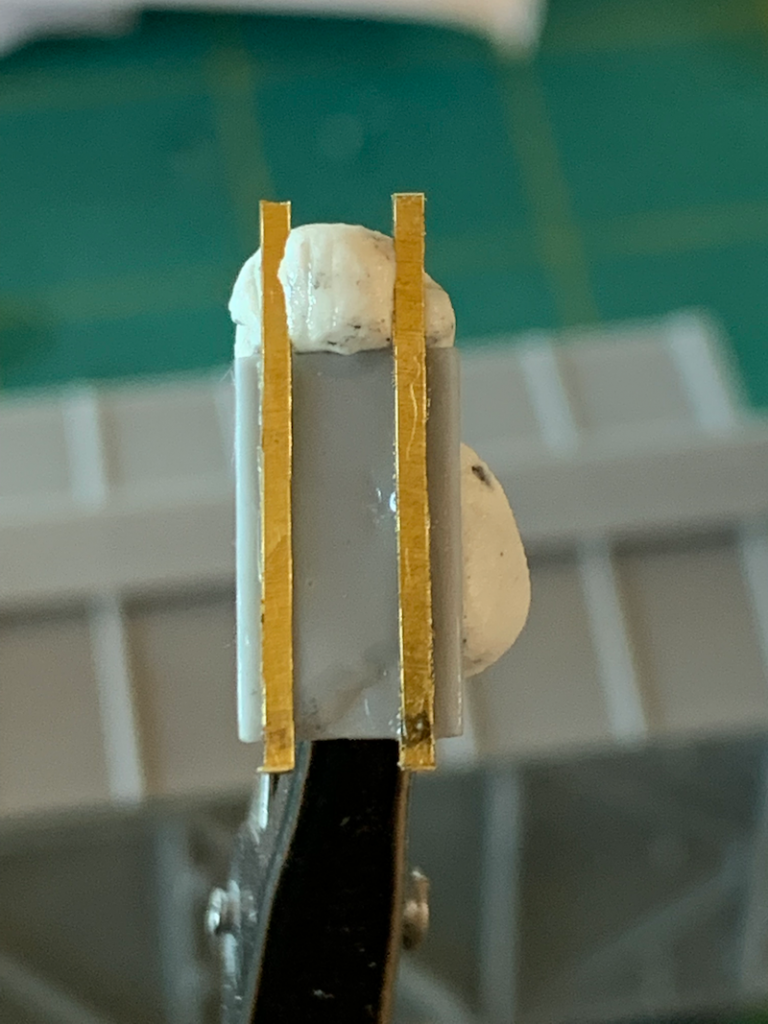
Next, the roof needed slicing with a fresh razor blade and breaking in half. It ended up breaking all the way in half, but a few short pieces of Tamiya masking tape kept it in place for construction.


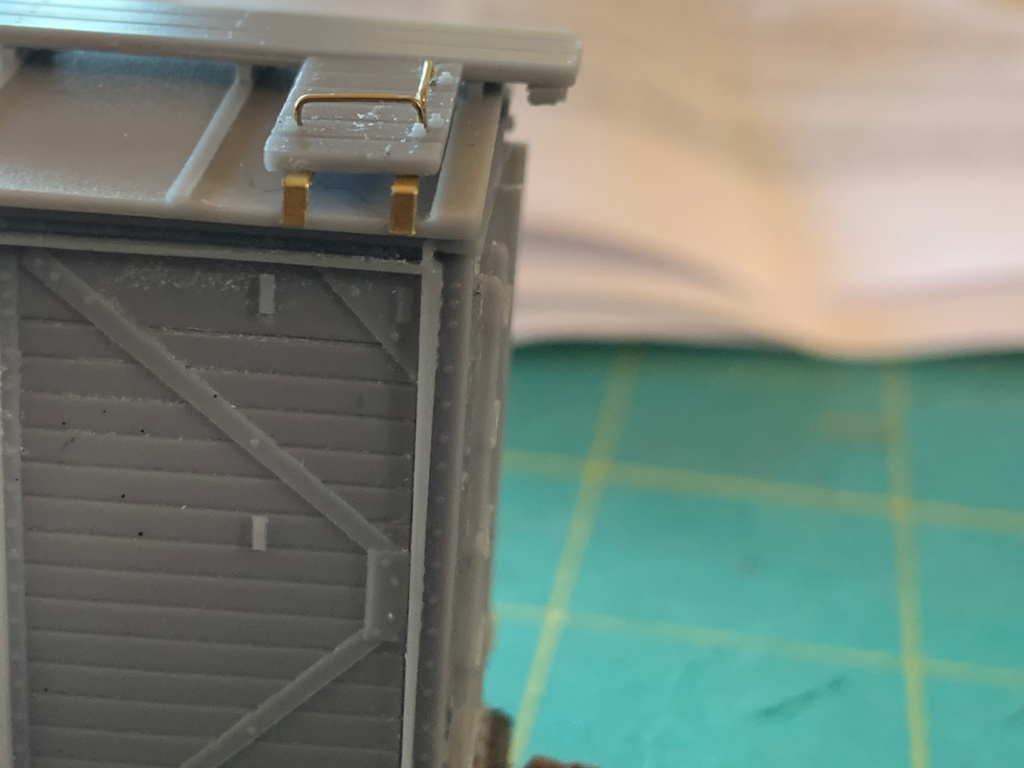
The end walks required brass strips. In the background is the main roofwalk that was installed before the end walks were done.
Last Construction Details
At this point the construction phase turned to the last details throughout: side ladders, corner steps, brake wheel, retainer valve line, roof walk angle supports, cut levers, and some door guide strips that go on the side.
The roof walk angle supports were less than ideal in effect, because there was a tiny mismatch between the amount of the overhang of the main roof walk on each side. For brevity I am eliding an essay on this, favoring the rest of the build.
Corner Steps
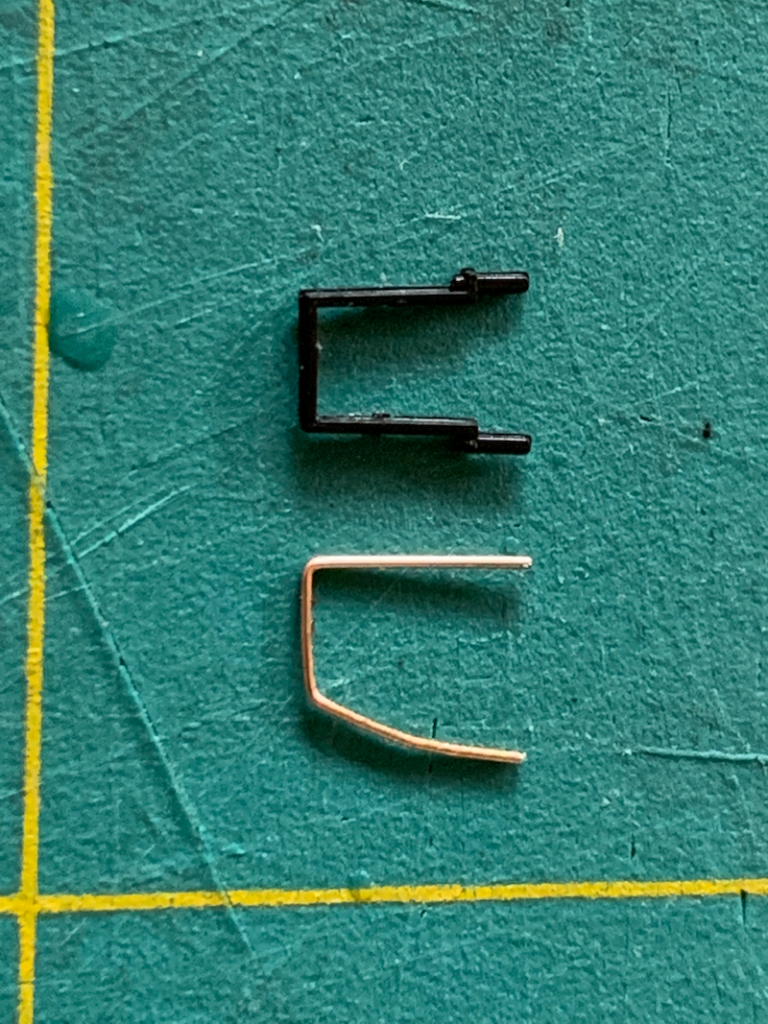
The corner steps were supposed to be made from Tichy plastic parts that had two major disadvantages. At first, I was bothered by how the prototype has angles that no amount of bending the delrin [I think] Tichy parts can fix:

As I focused on the angle on the inward-facing leg of the corner steps, it eventually dawned on me that the thickness of the included part was just overscale. I tried to make a somewhat closer approximation using wire the same thickness as the grabirons. This image demonstrates the size and angle difference:
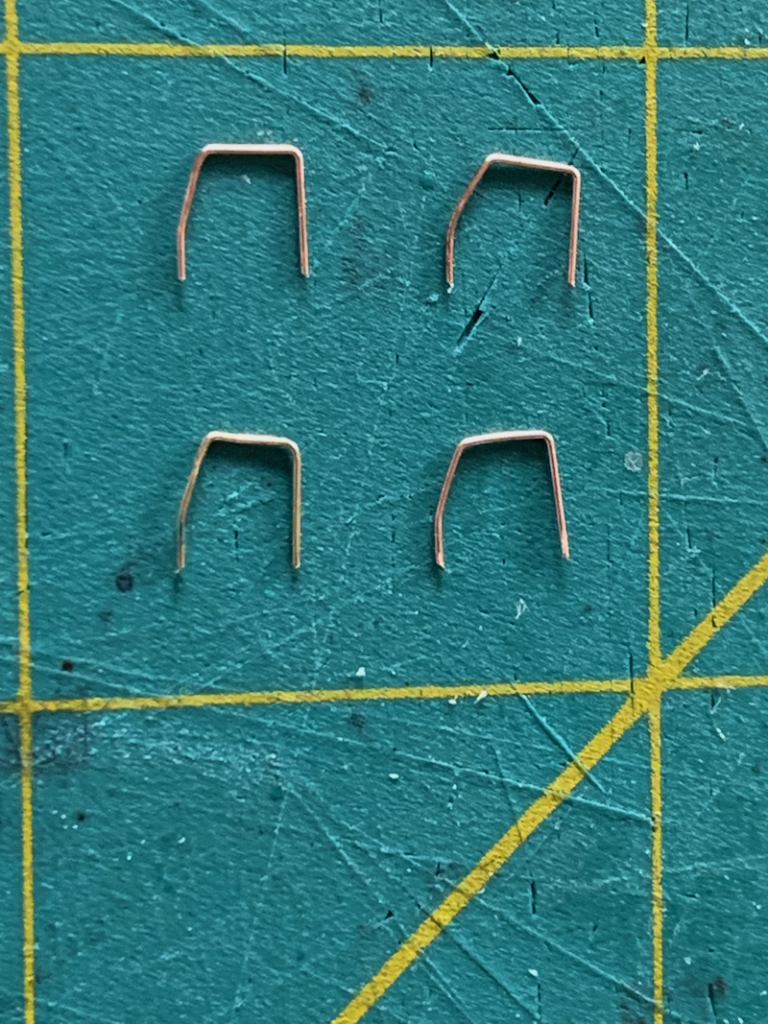
Ultimately, I was able to fabricate a set of them by hand:
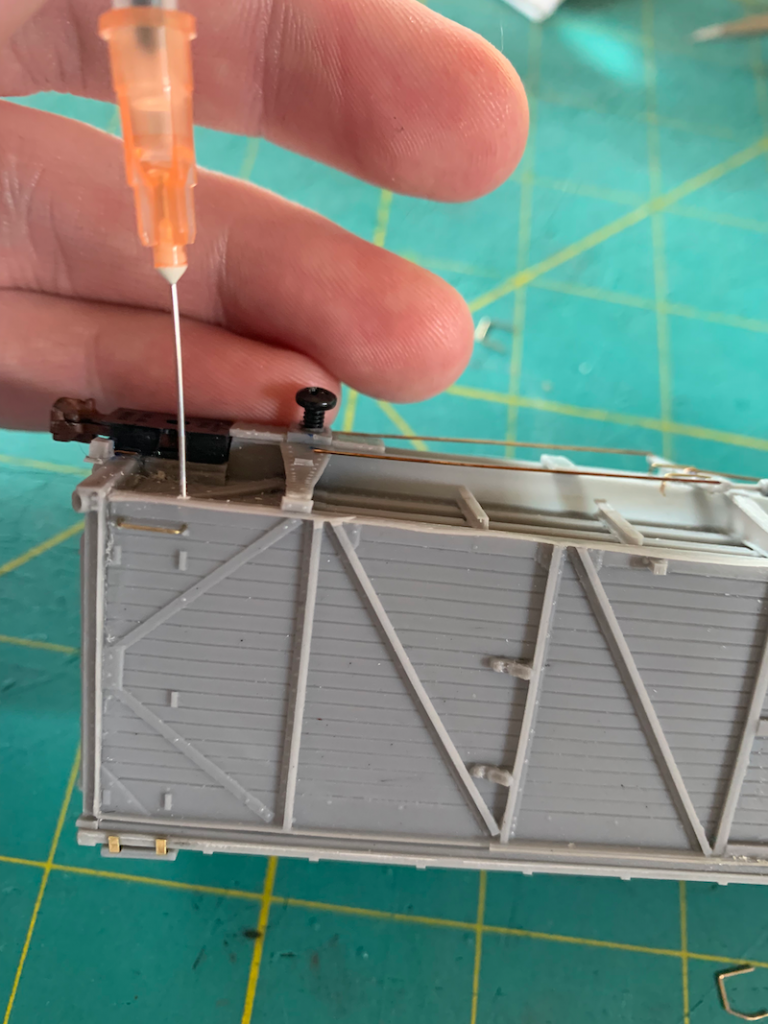
But drilling the holes for them was challenging. I was able to pilot the drill holes with a syringe needle tip, a suggestion from Scale-A-Ton:
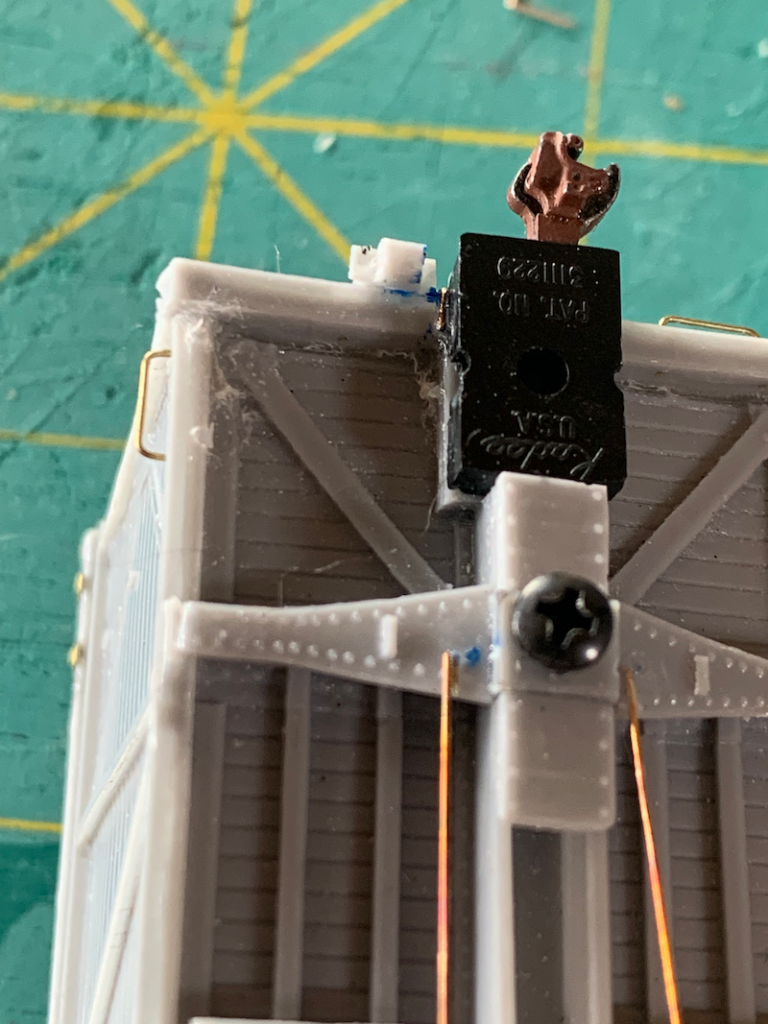
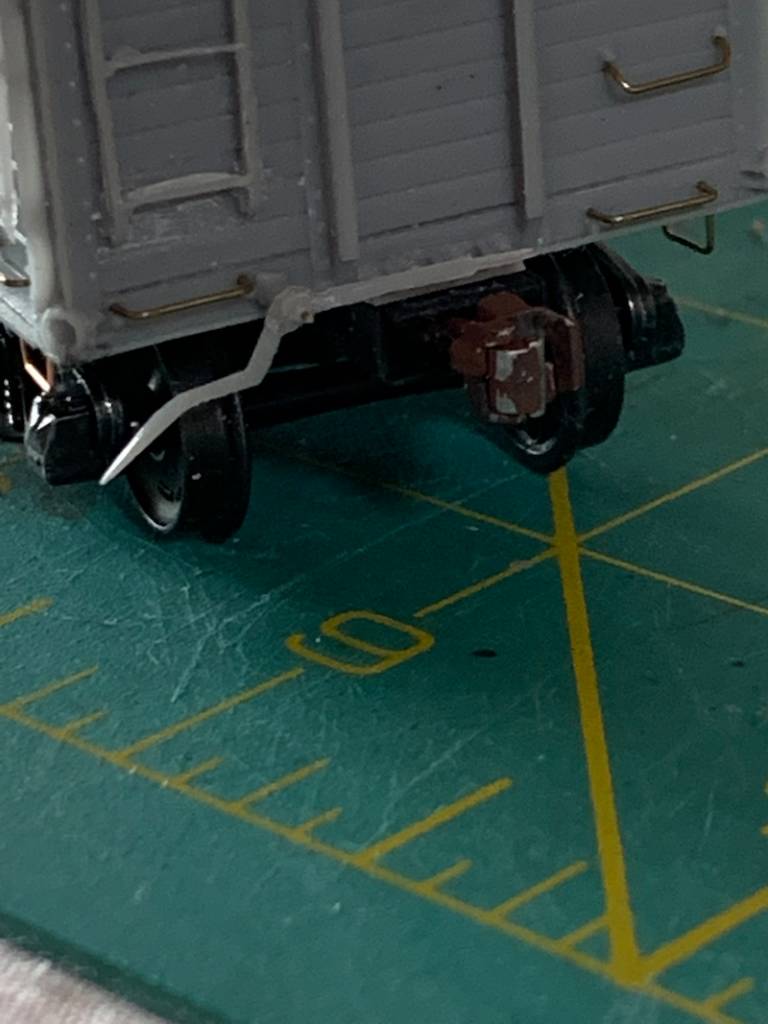
Despite my best efforts, they came out off by less than a millimeter, but enough to be visible:
Door Guides
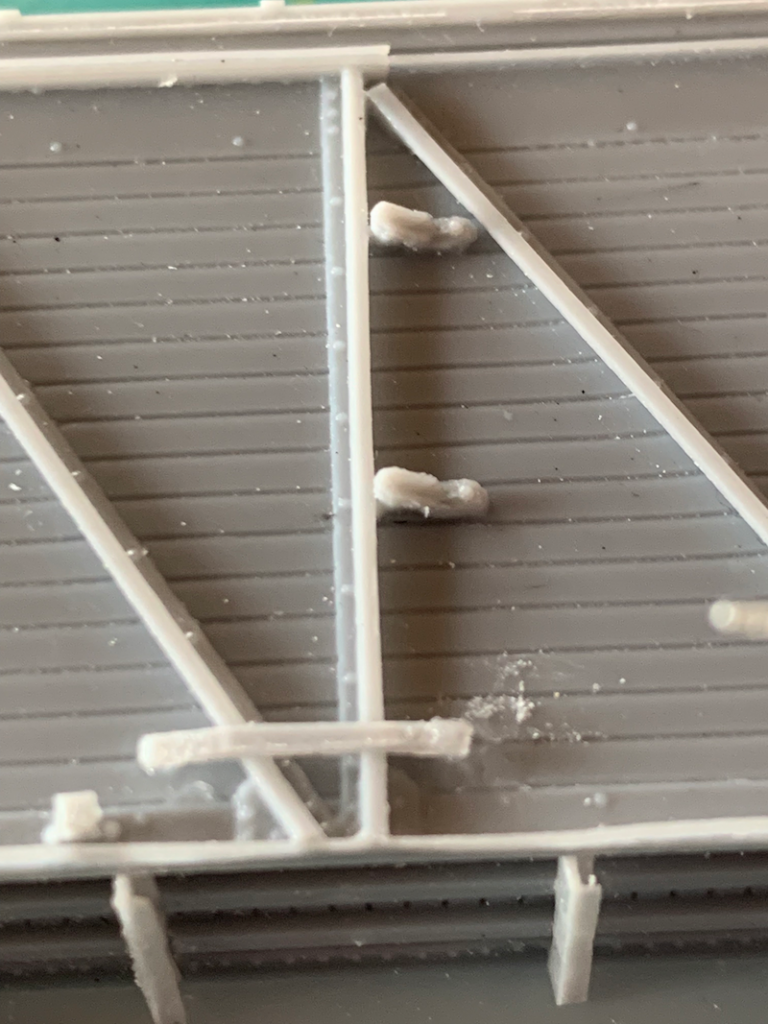
The door guide strips were a step that felt risky. And indeed, I made a small mess with the CA. It was cleanable. I don’t really like these as-is. Next time I will try to sand down to reduce the thickness.
Cut Levers
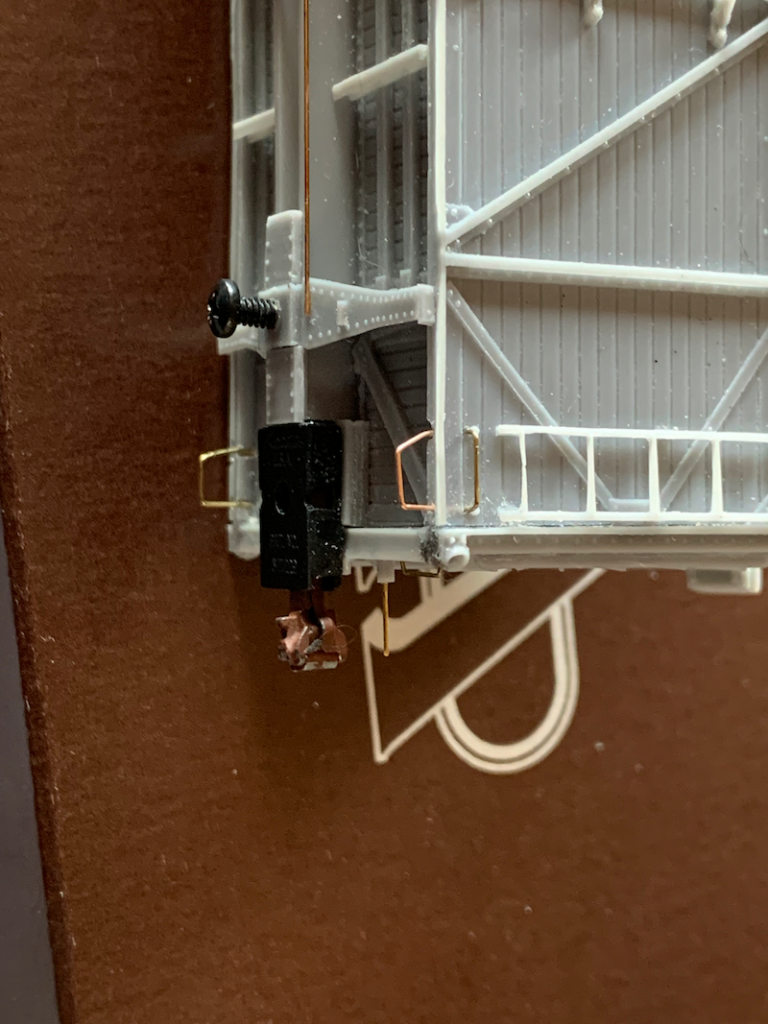
For all my complaints about flash thickness, here is one case where it exceeded expectations. The cut levers were surrounded by extremely thin flash and were easy to free. One spare lever was included but not needed because of how smoothly they went together. The mechanism is interesting, with a small donut cylinder containing a wire to which the lever parts are attached, one at a time.
Brake Wheel
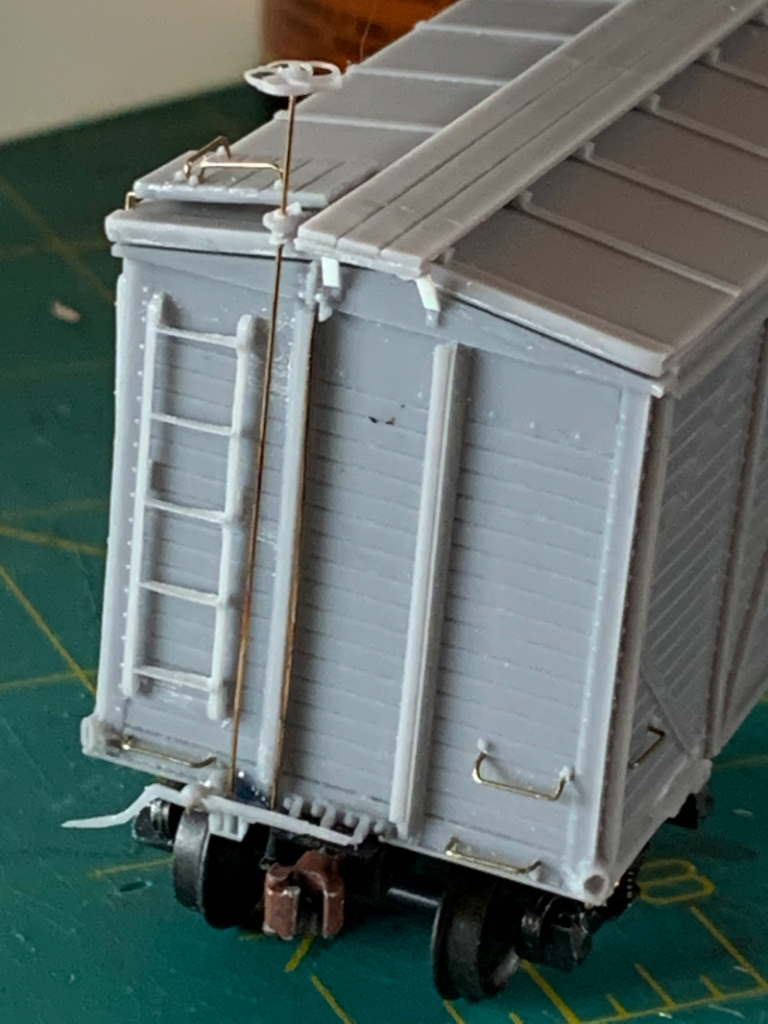
This was the final wet sanding ordeal. I ruined 2 of the 4 brake wheels trying to free them. For the last two I slowed way down and found something that would stay intact, if not perfectly even.
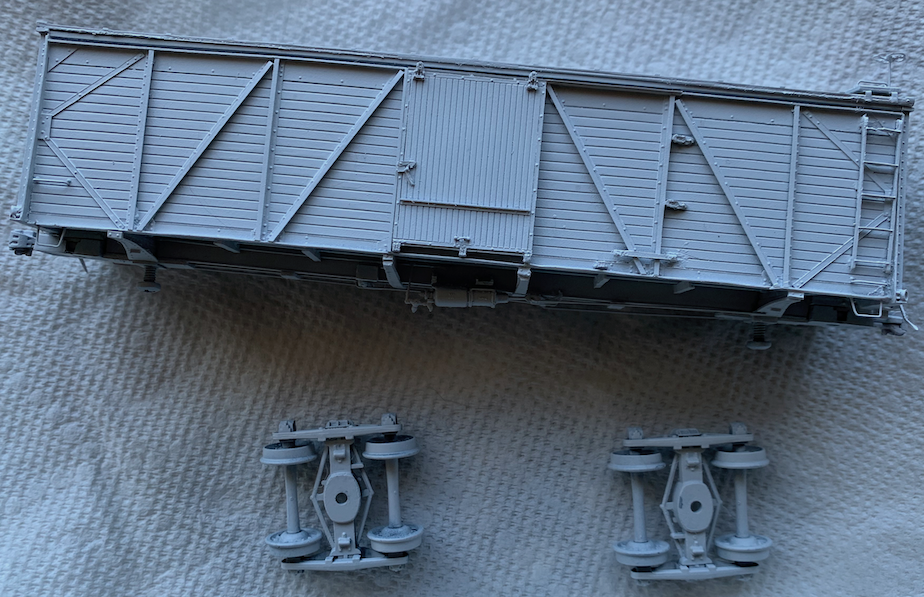
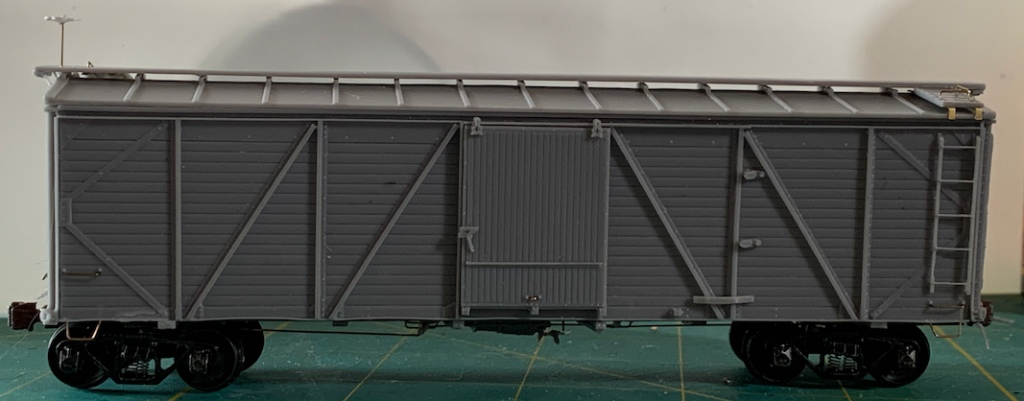
Complete Build Before Painting
So there it is before painting. My skills have both noticeably improved and also not gotten to where I want them just yet. This is my second resin kit. Perhaps by my fifth I will have kits I don’t want to relegate to being in the background. Let’s paint!
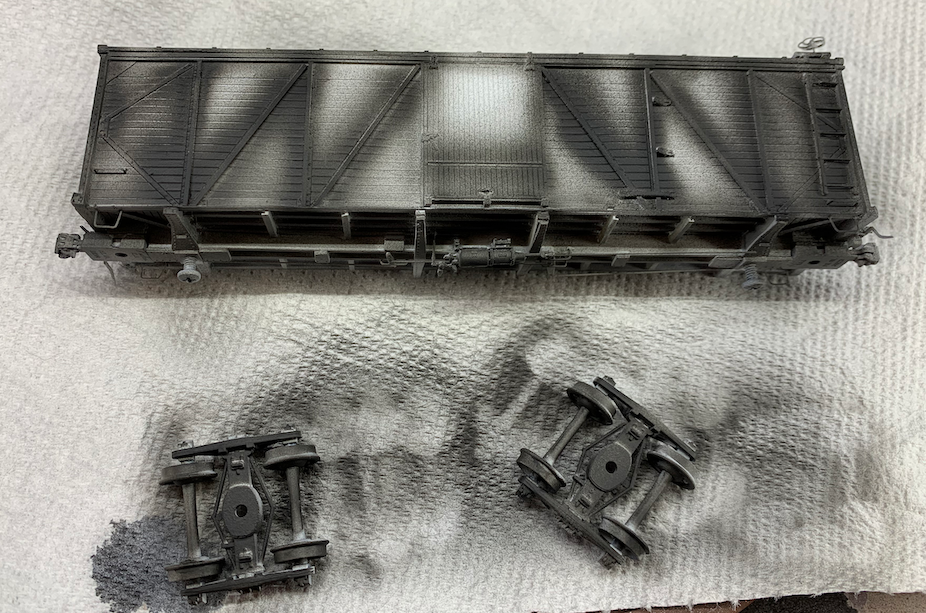
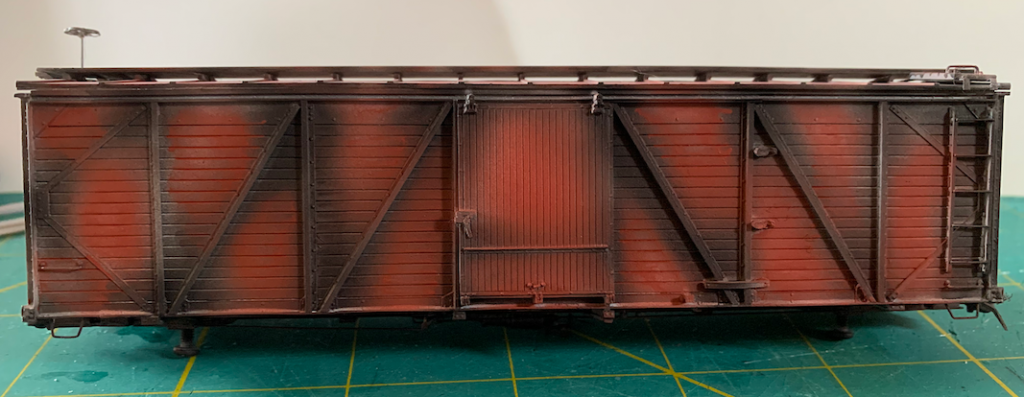
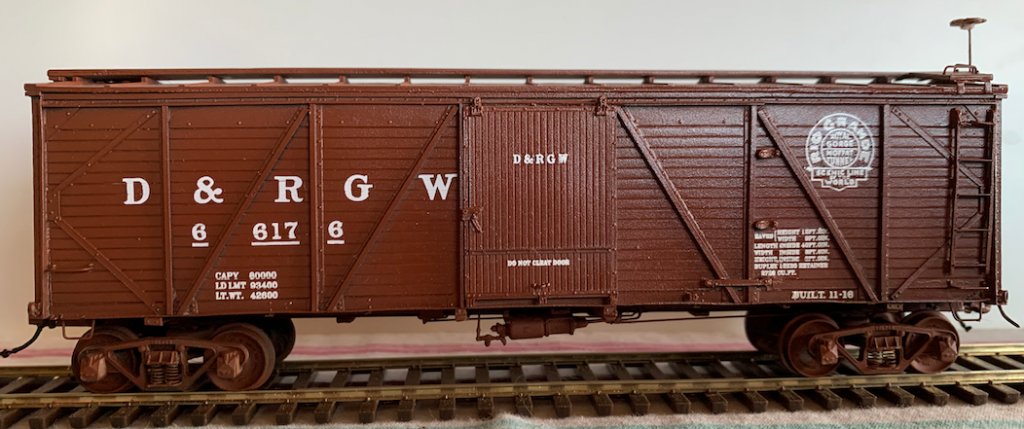
Painting Stages
We conclude this post with the stages of painting and decaling, leaving off before weathering.
